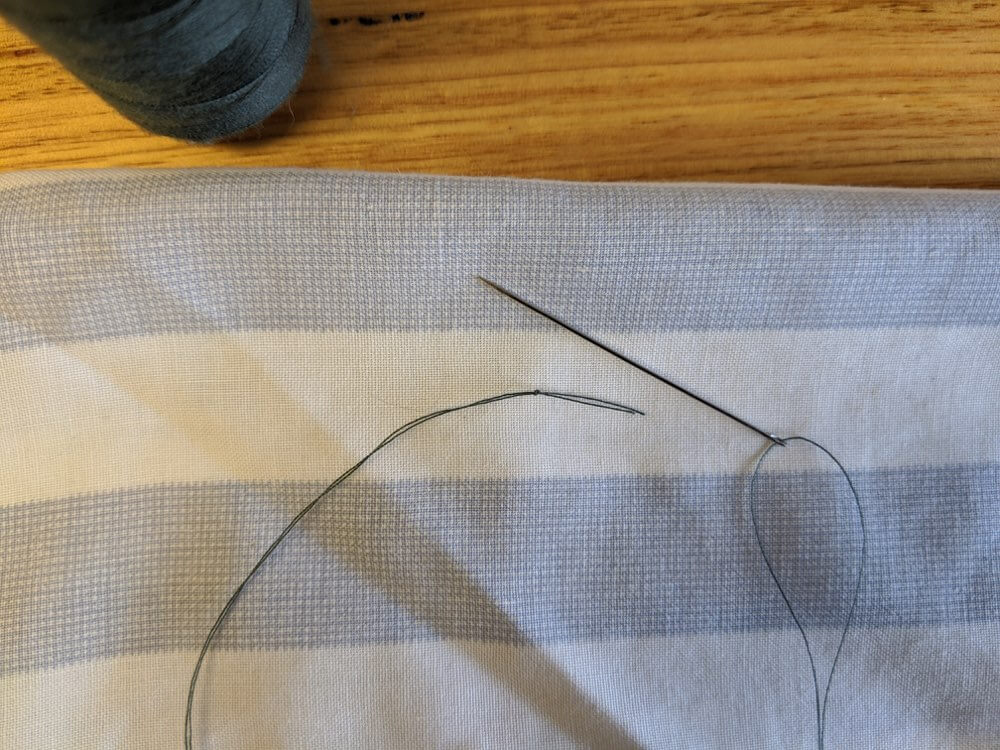
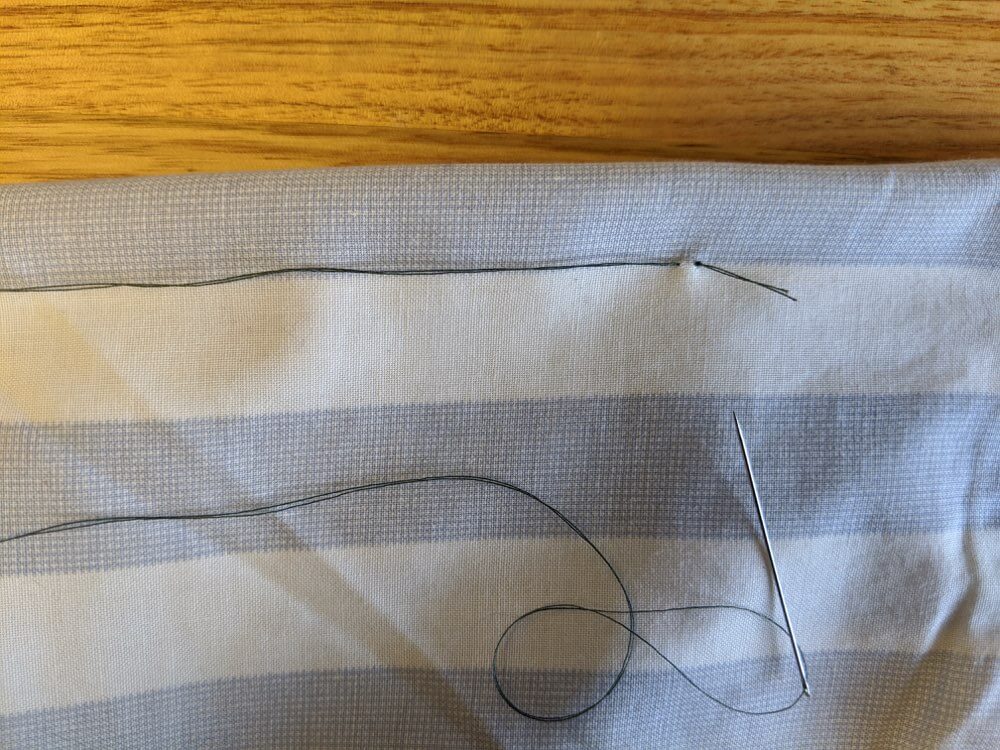
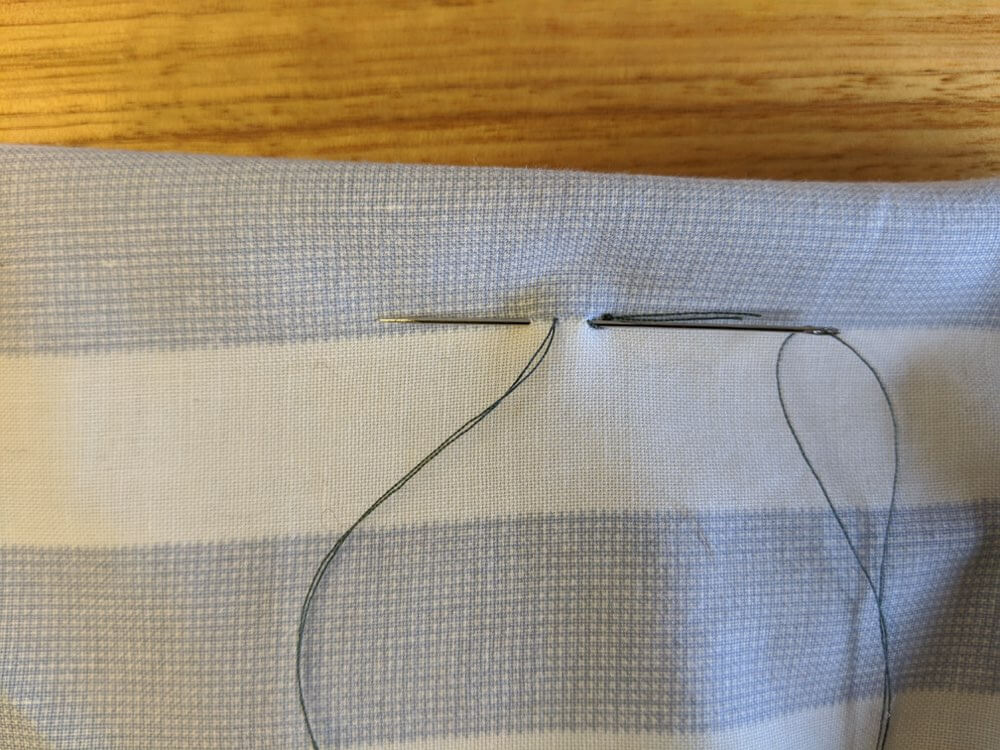
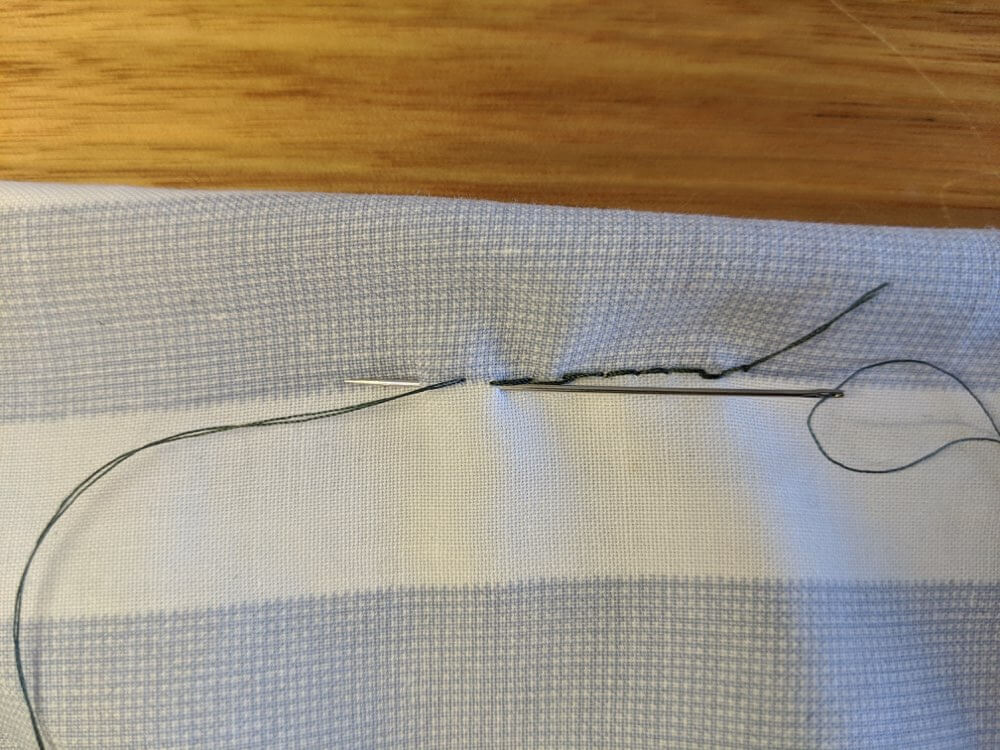
Rhythmic backstitching
There’s nothing quite like hand sewing for a meditative and menial task on a winters day in isolation.
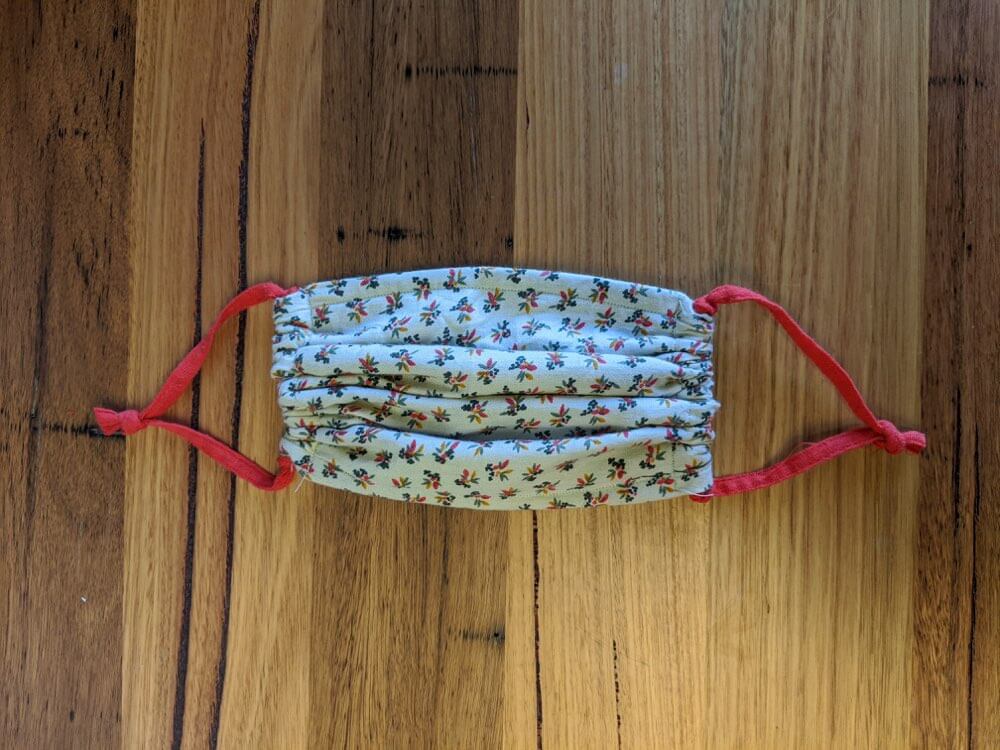
It's all about repetition, routine and rhythm. And it seems that sewing is a skill in high demand as the need for reusable face masks
increases.
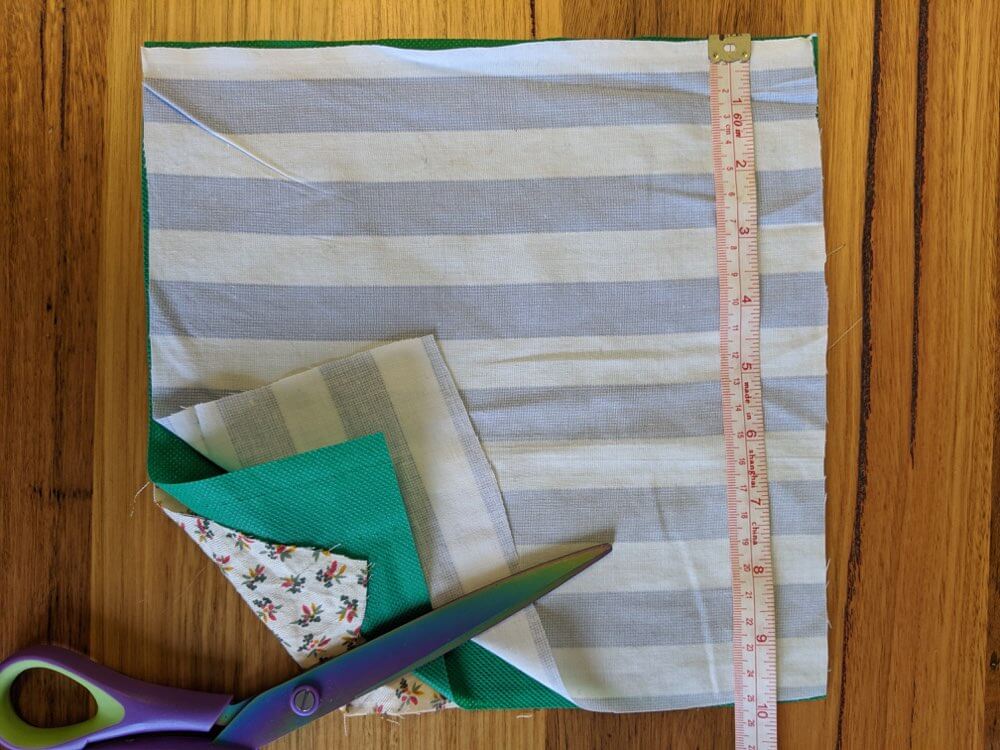
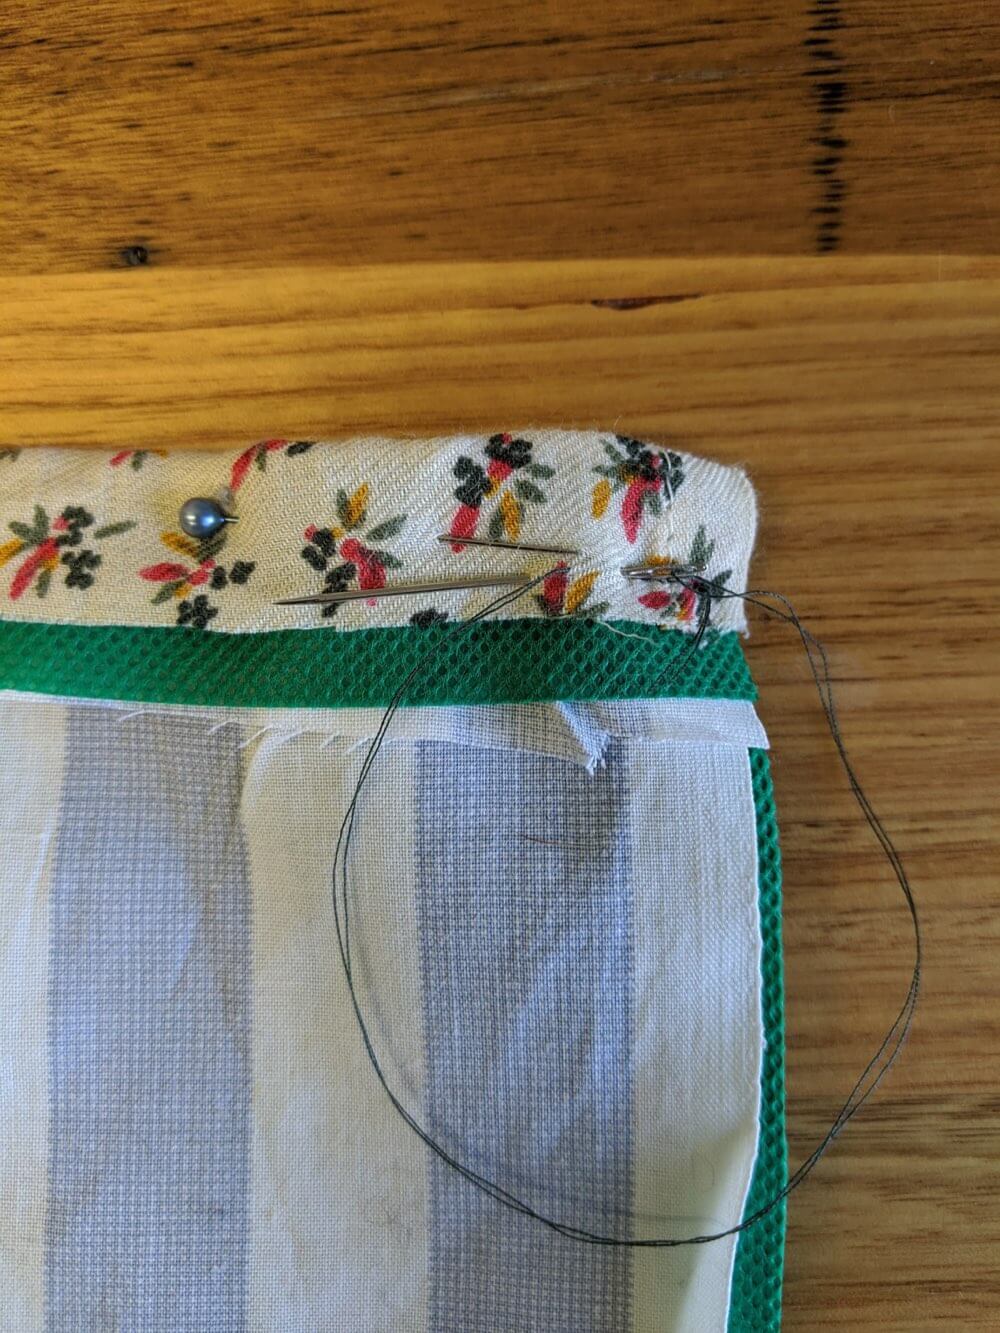
We’ve put together our own quick guide to help you whip up a reusable face mask according to the Victorian Department of Health and Human
Services (DHHS) guidelines using a simple hand sewing technique called backstitch.