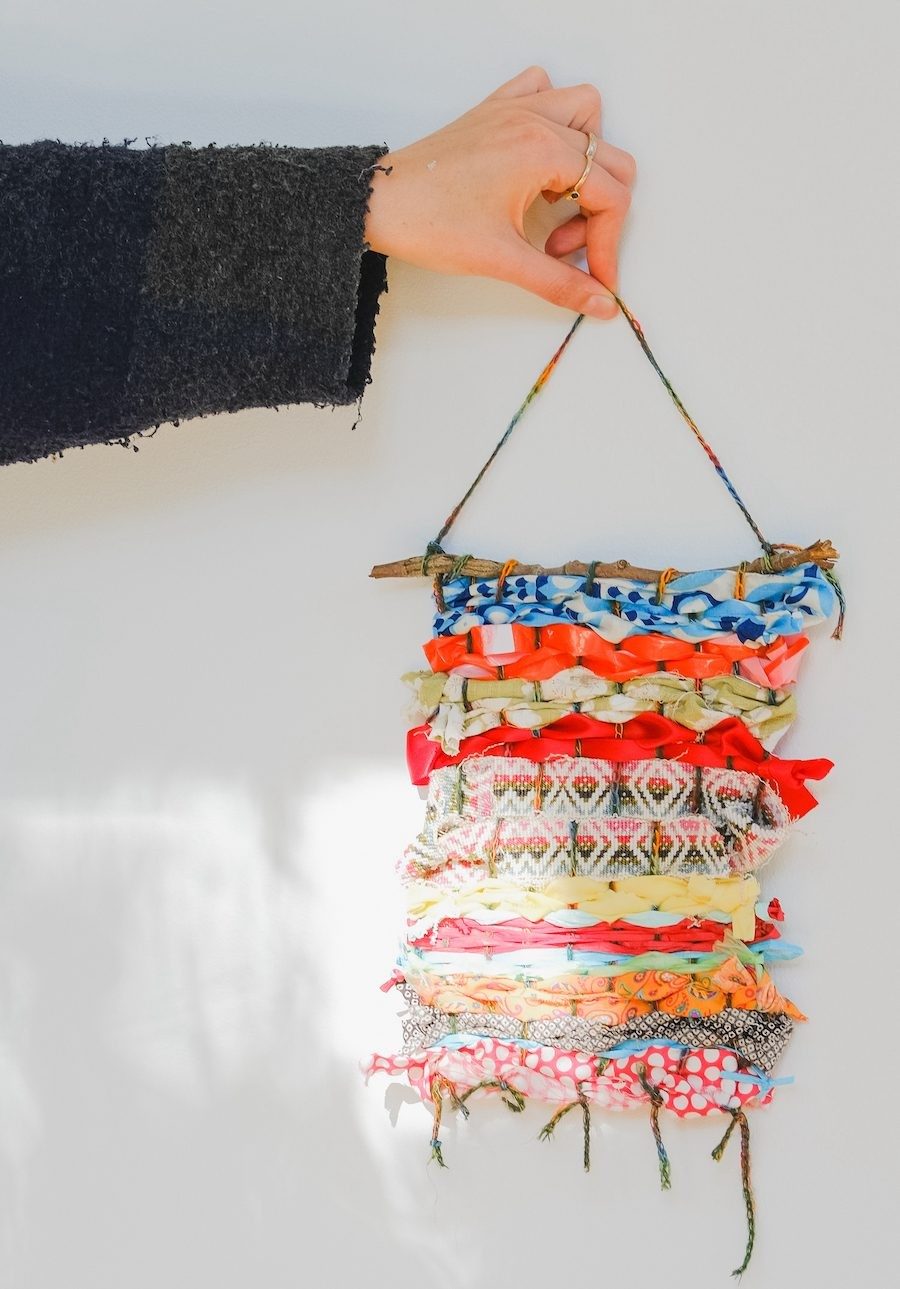
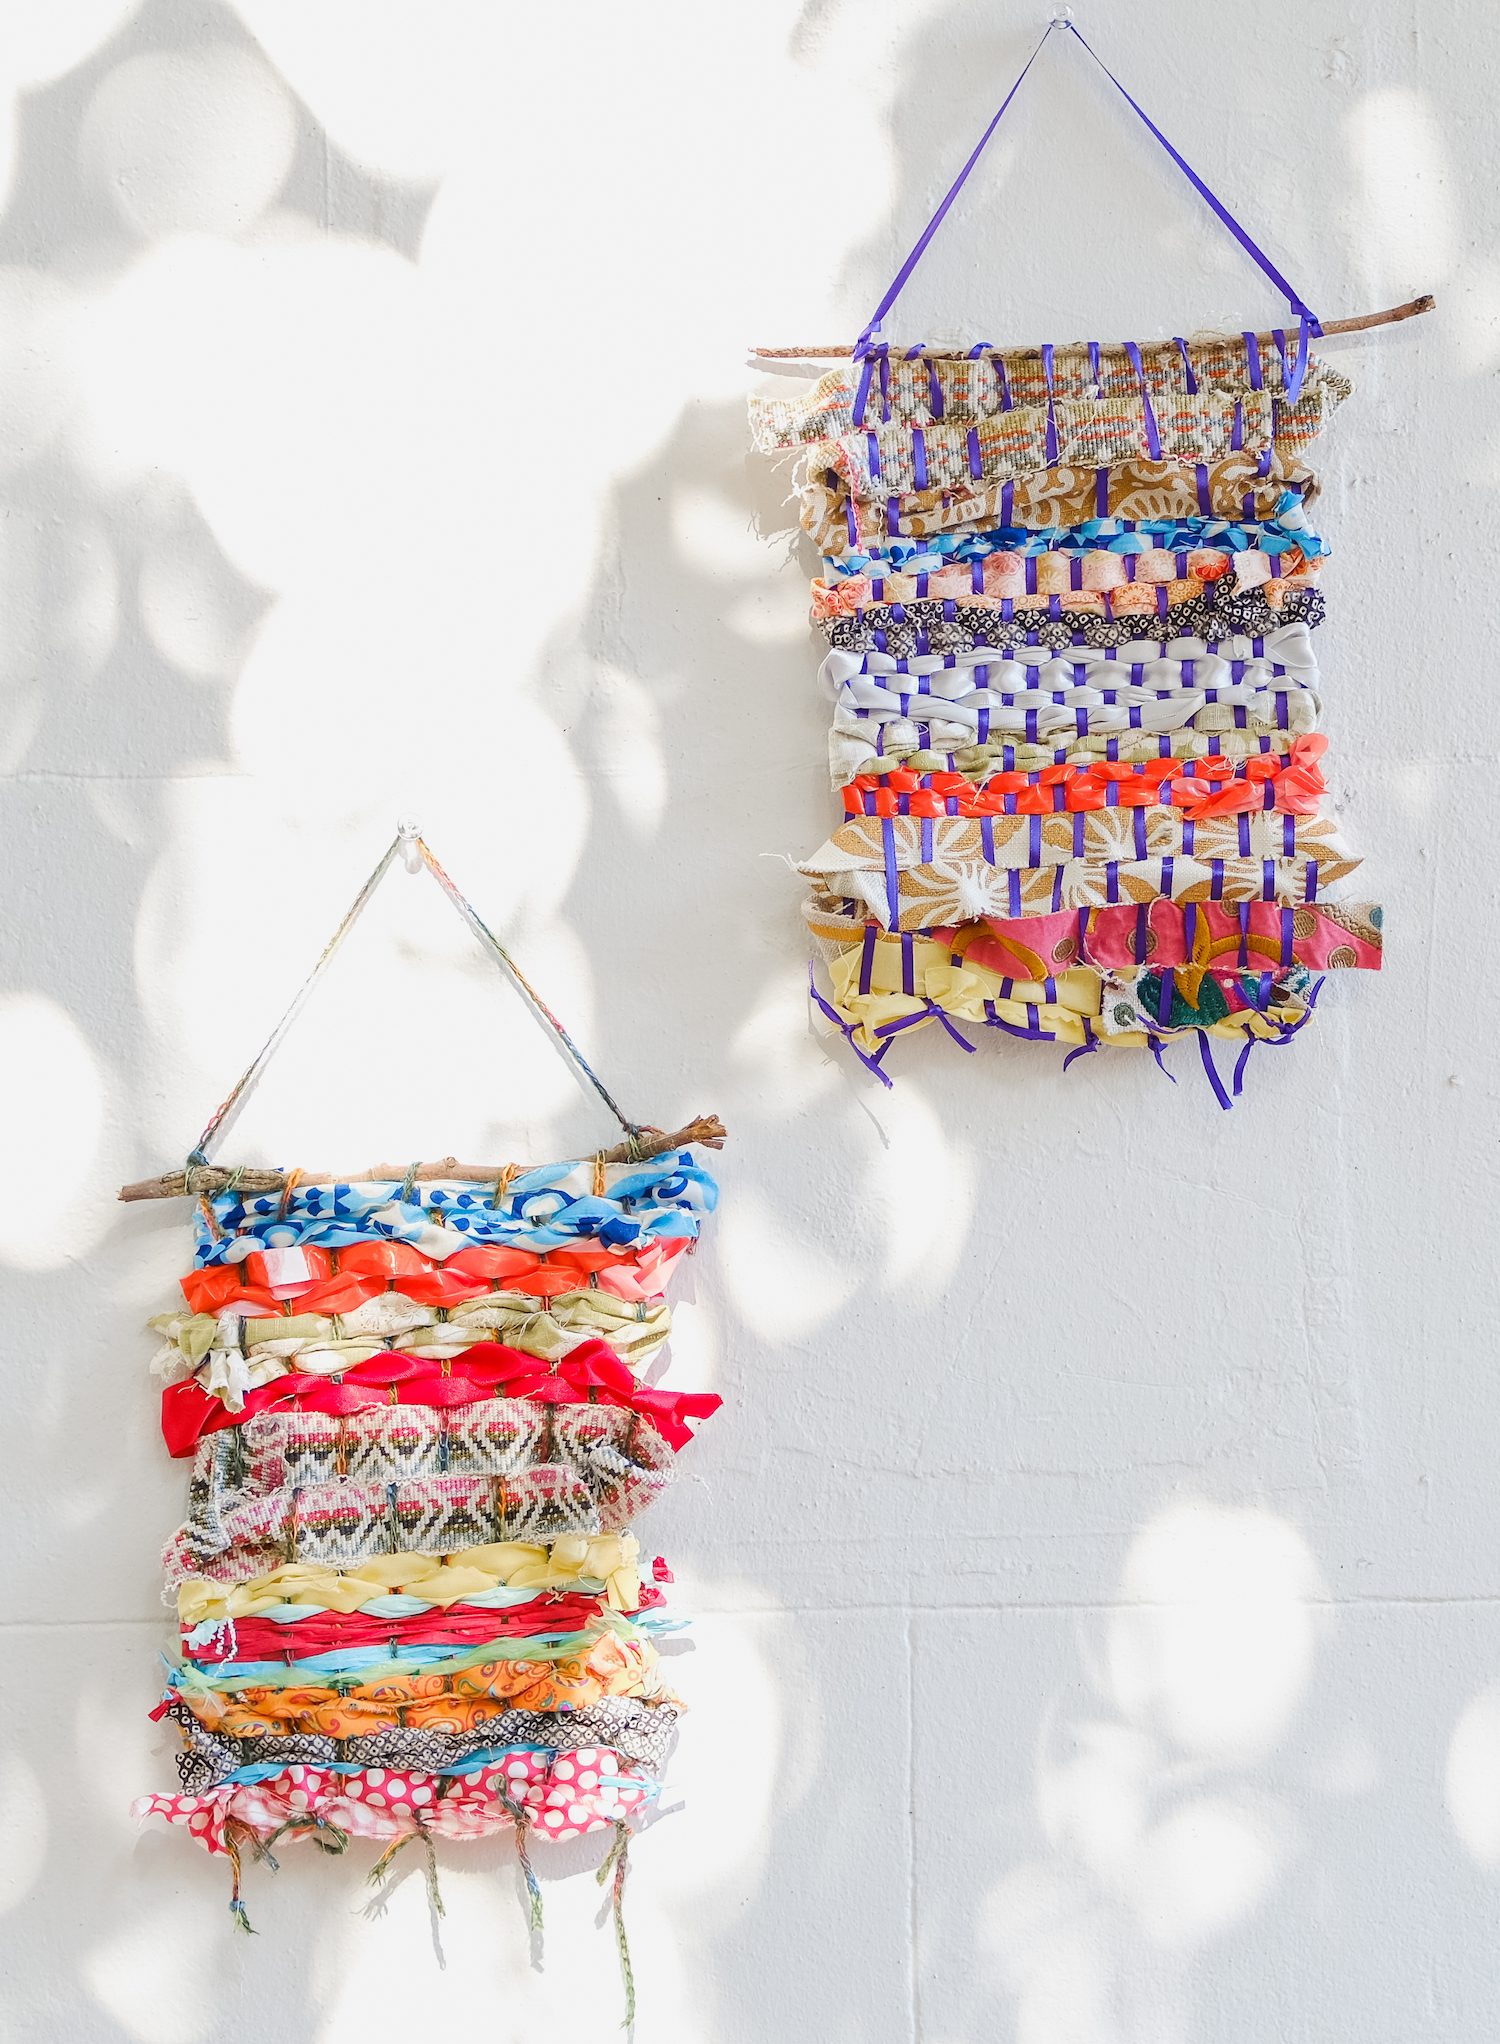
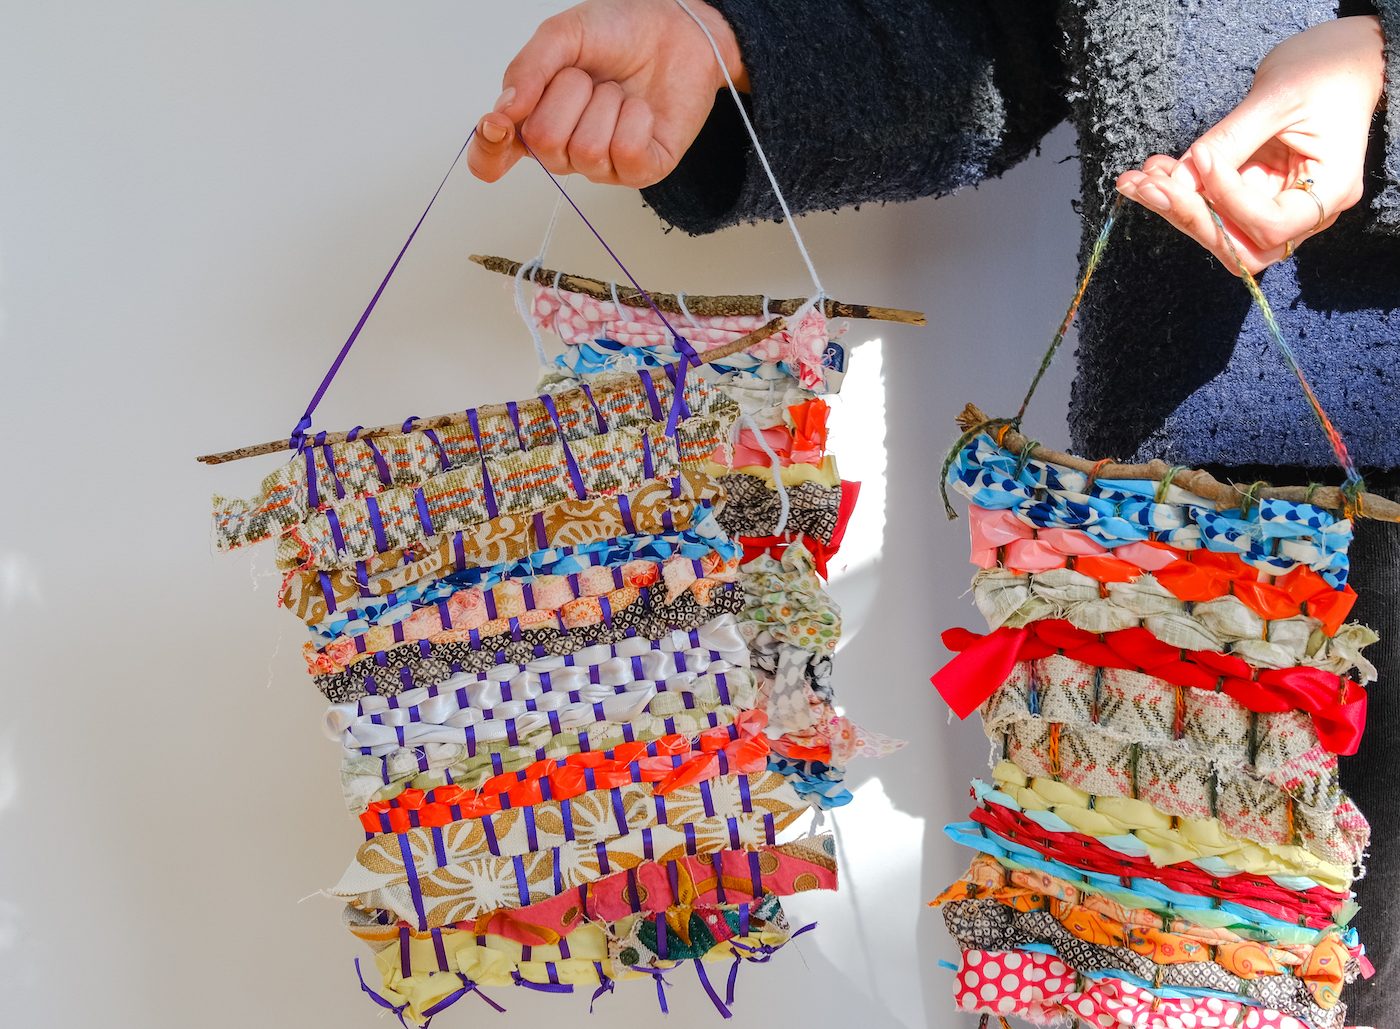
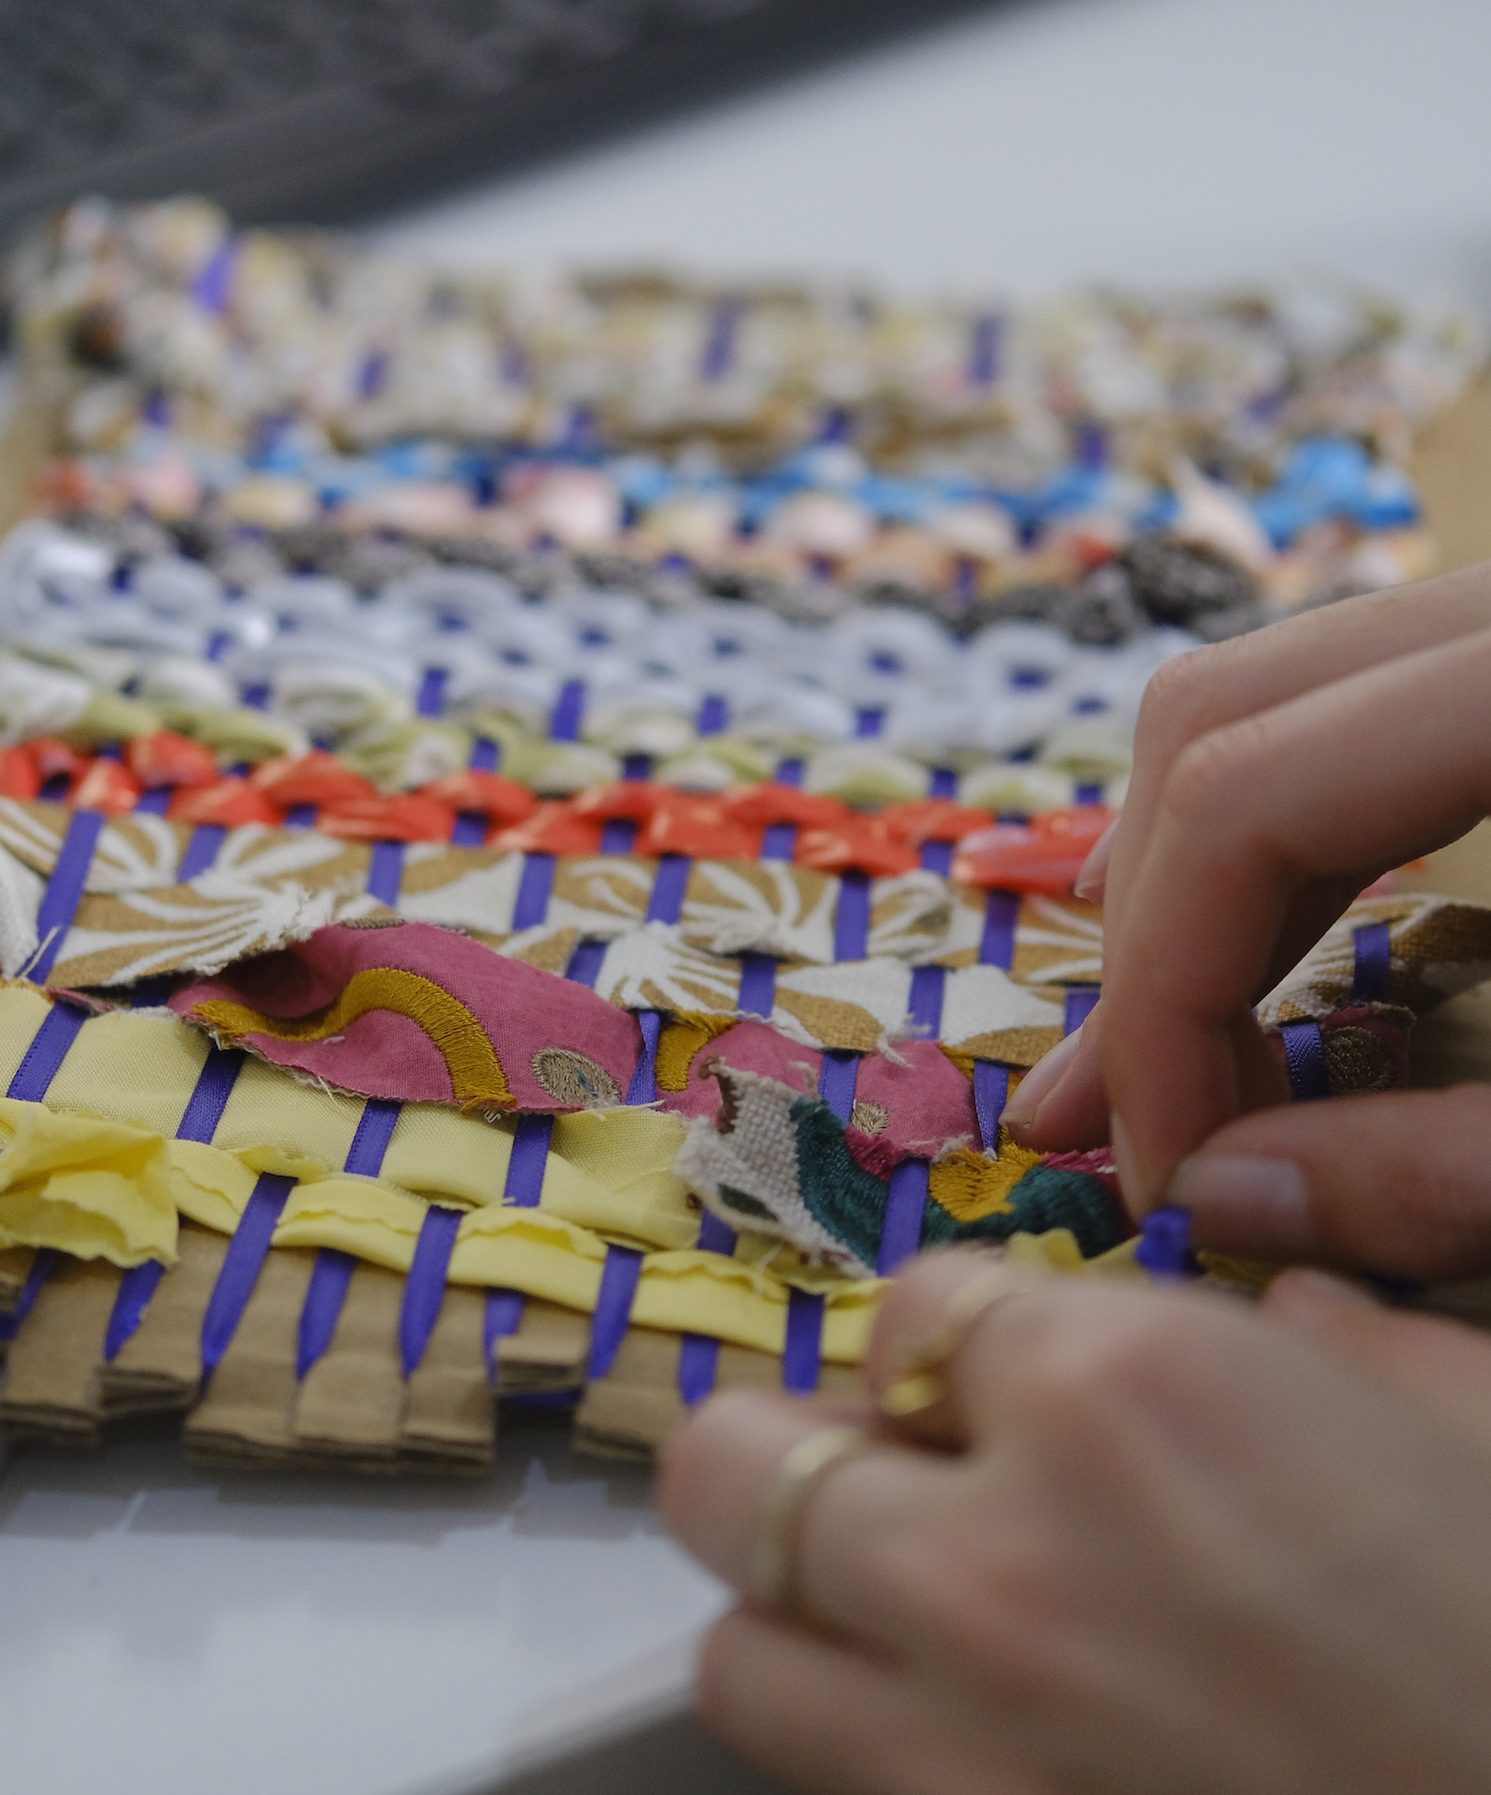
On Holidays at Linden > upcycled wall hangings


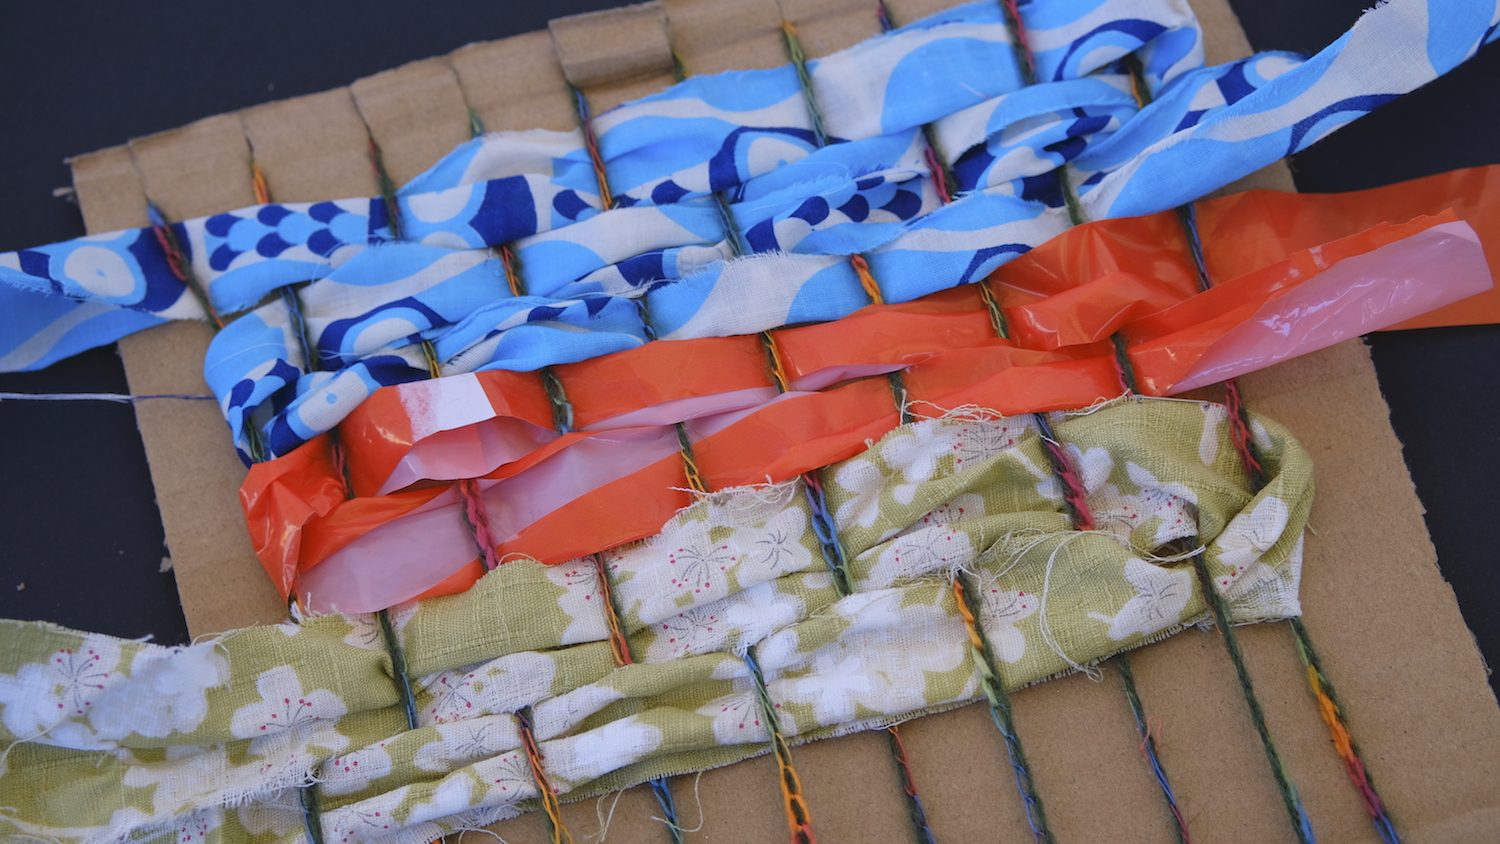
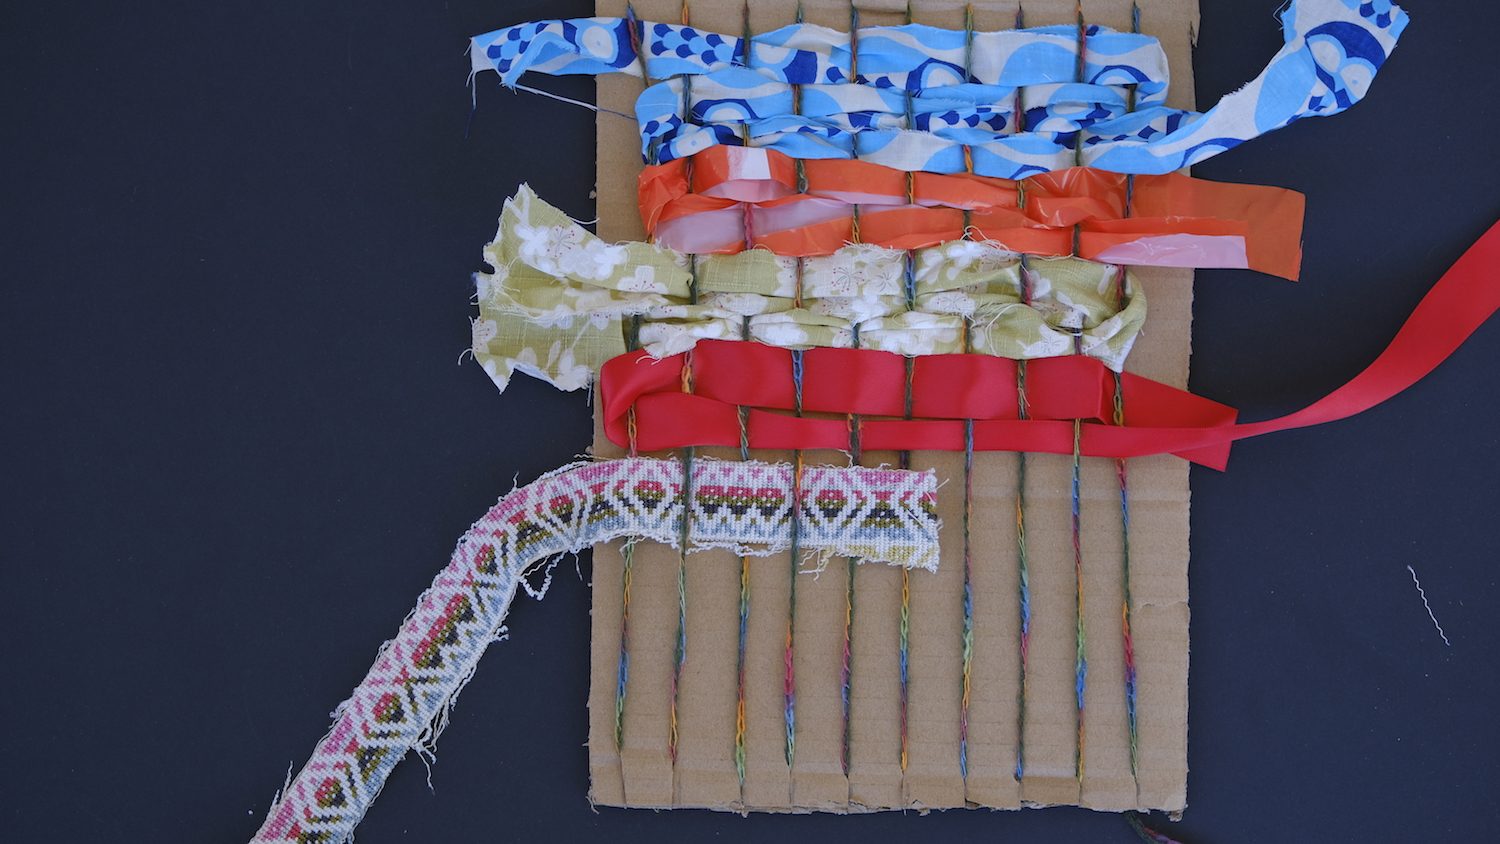
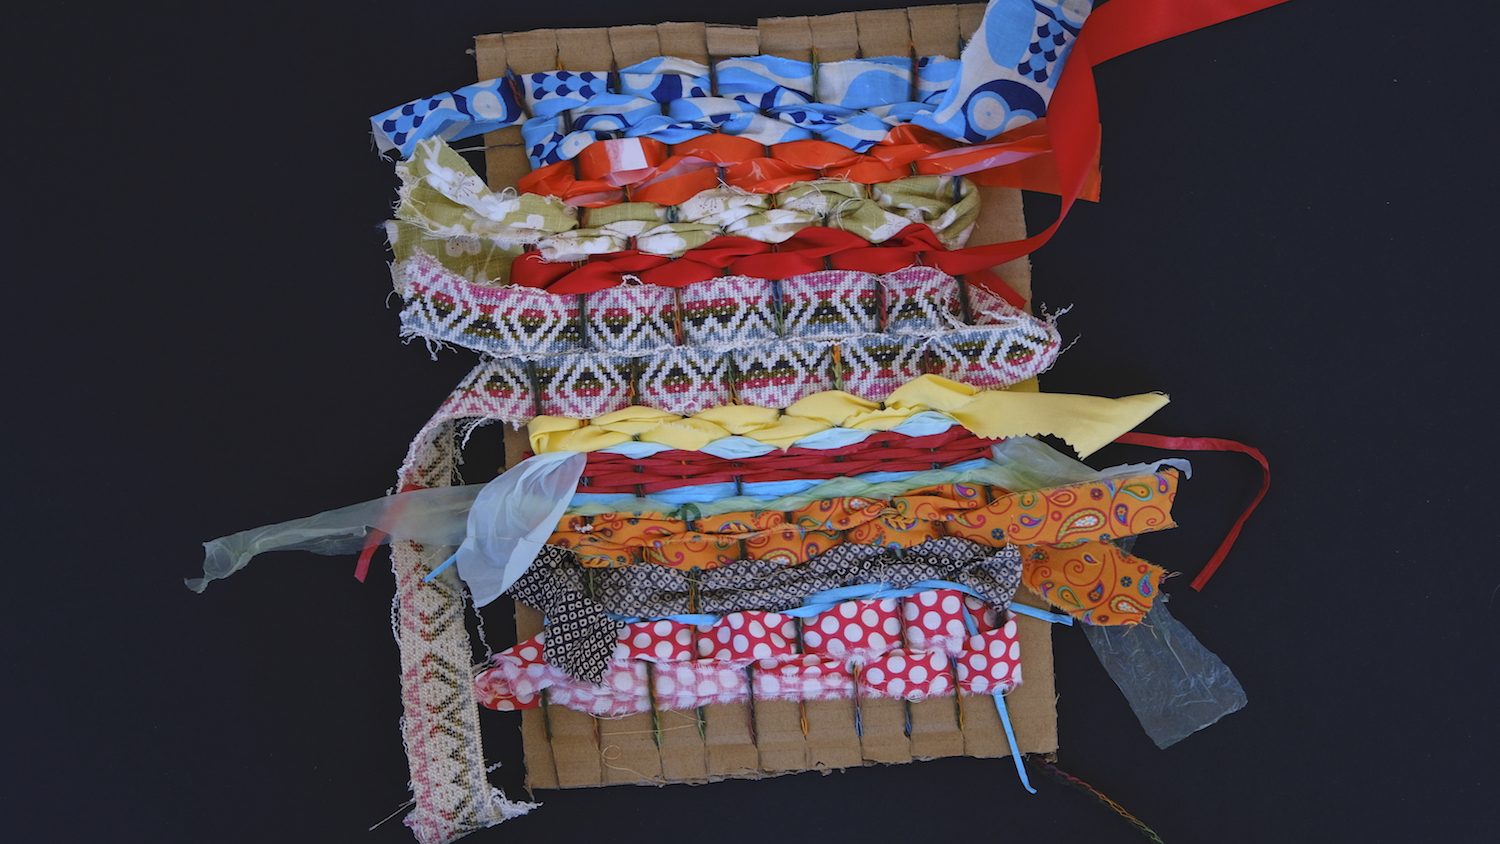
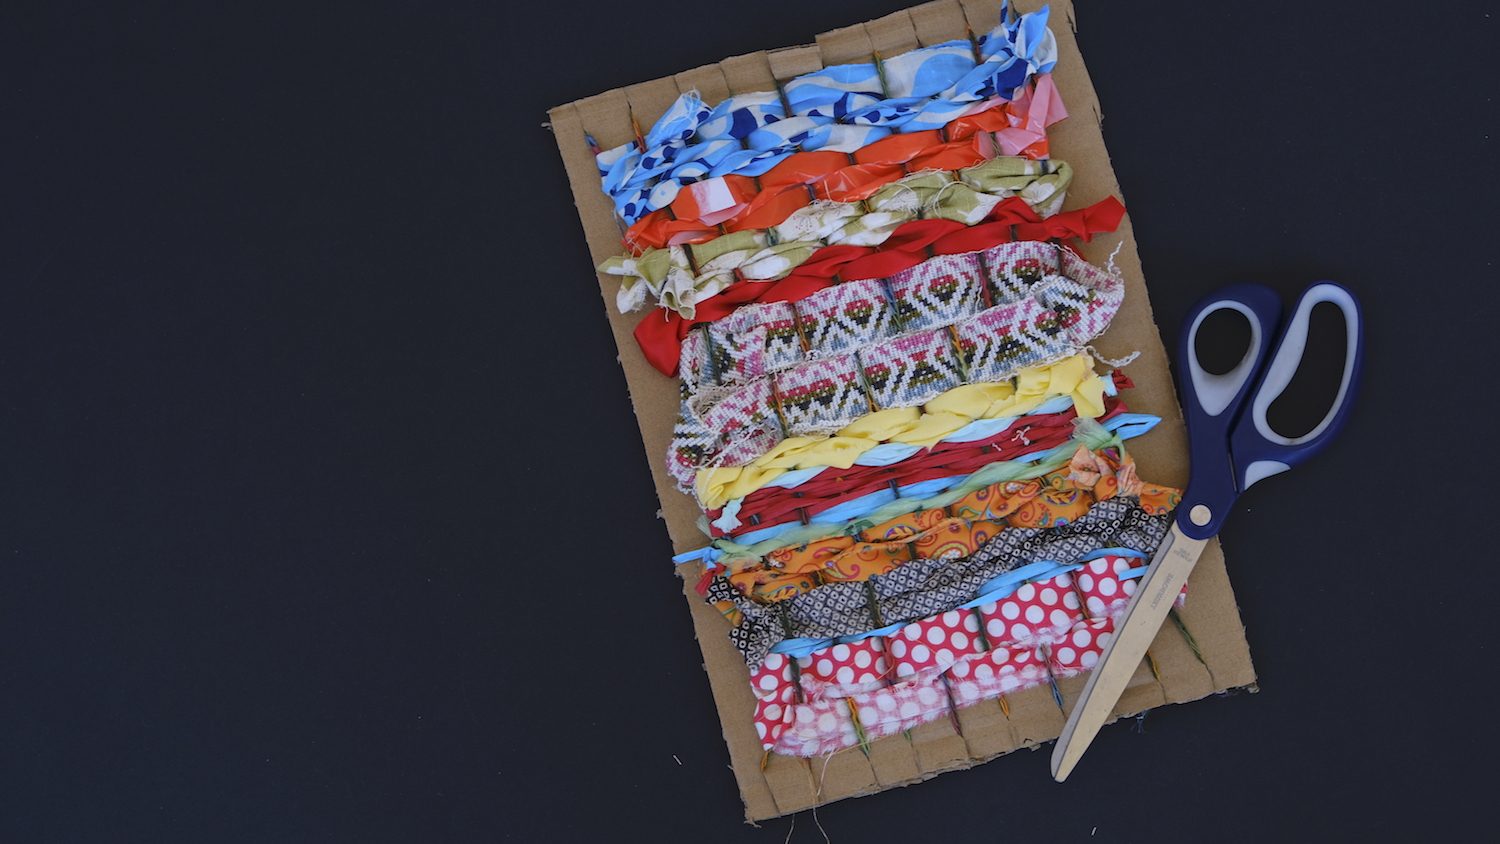
Weave, learn and create your very own wall hanging using recycled materials from around the home.

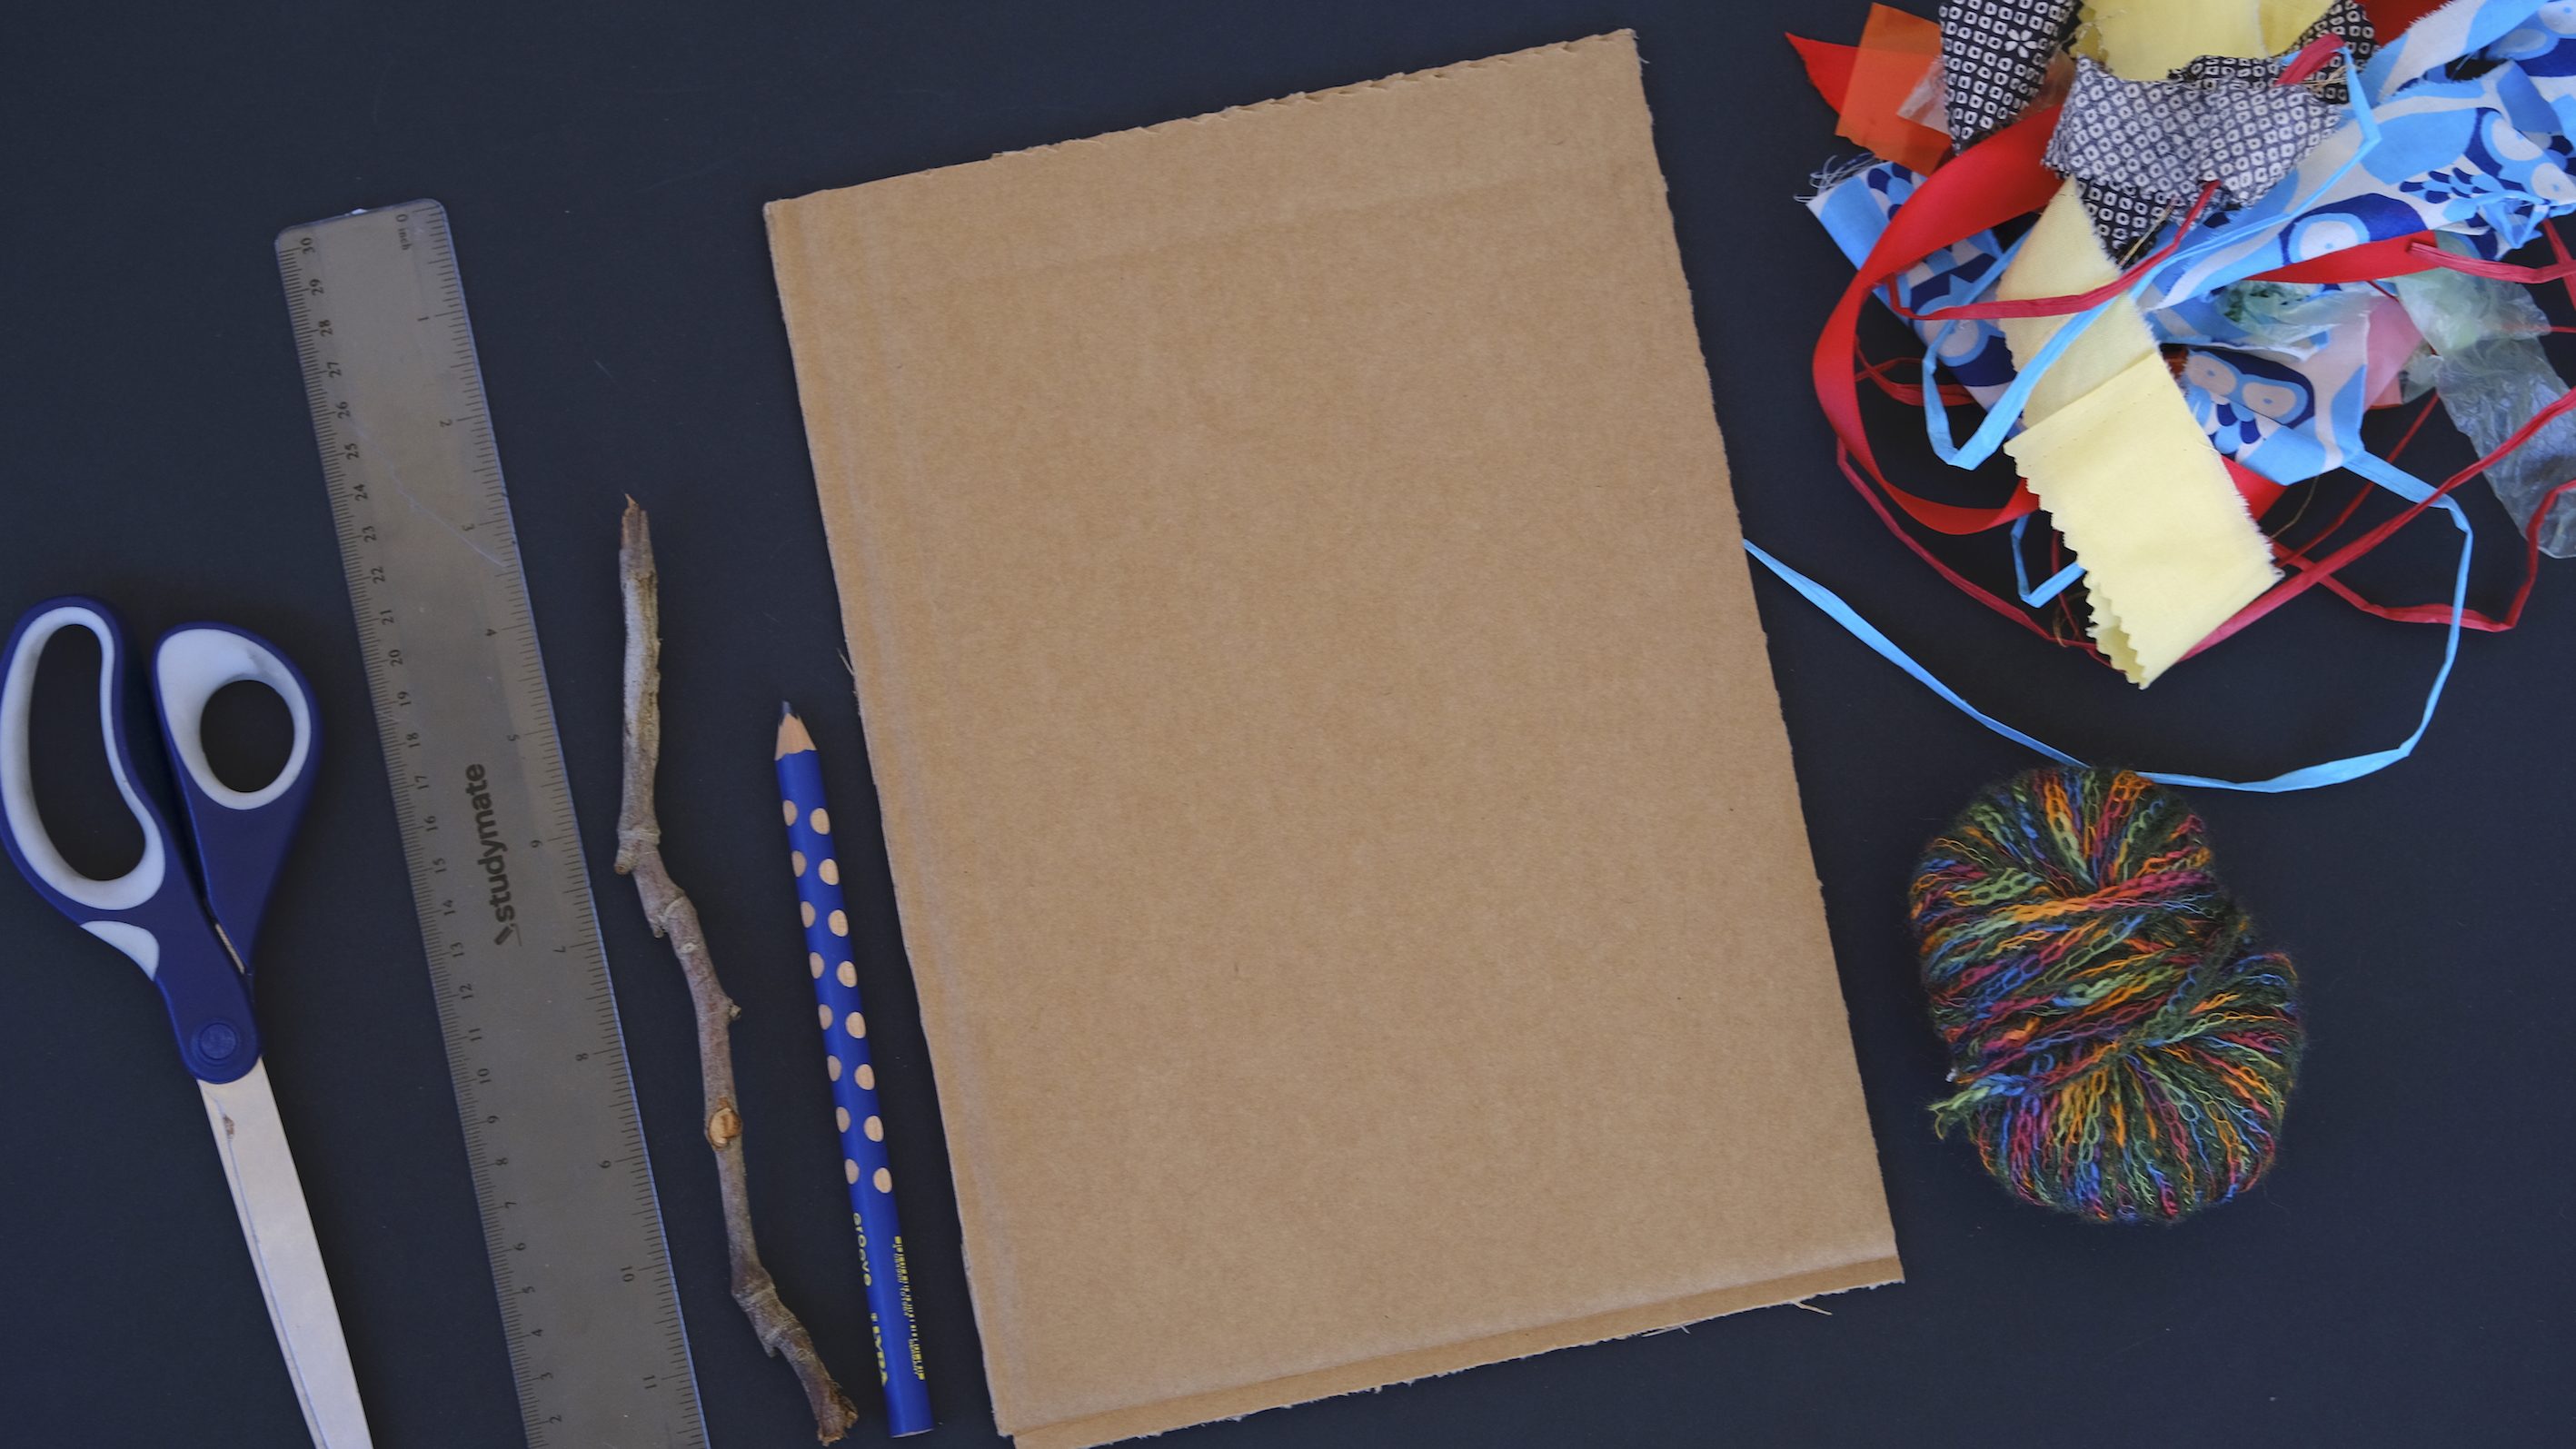
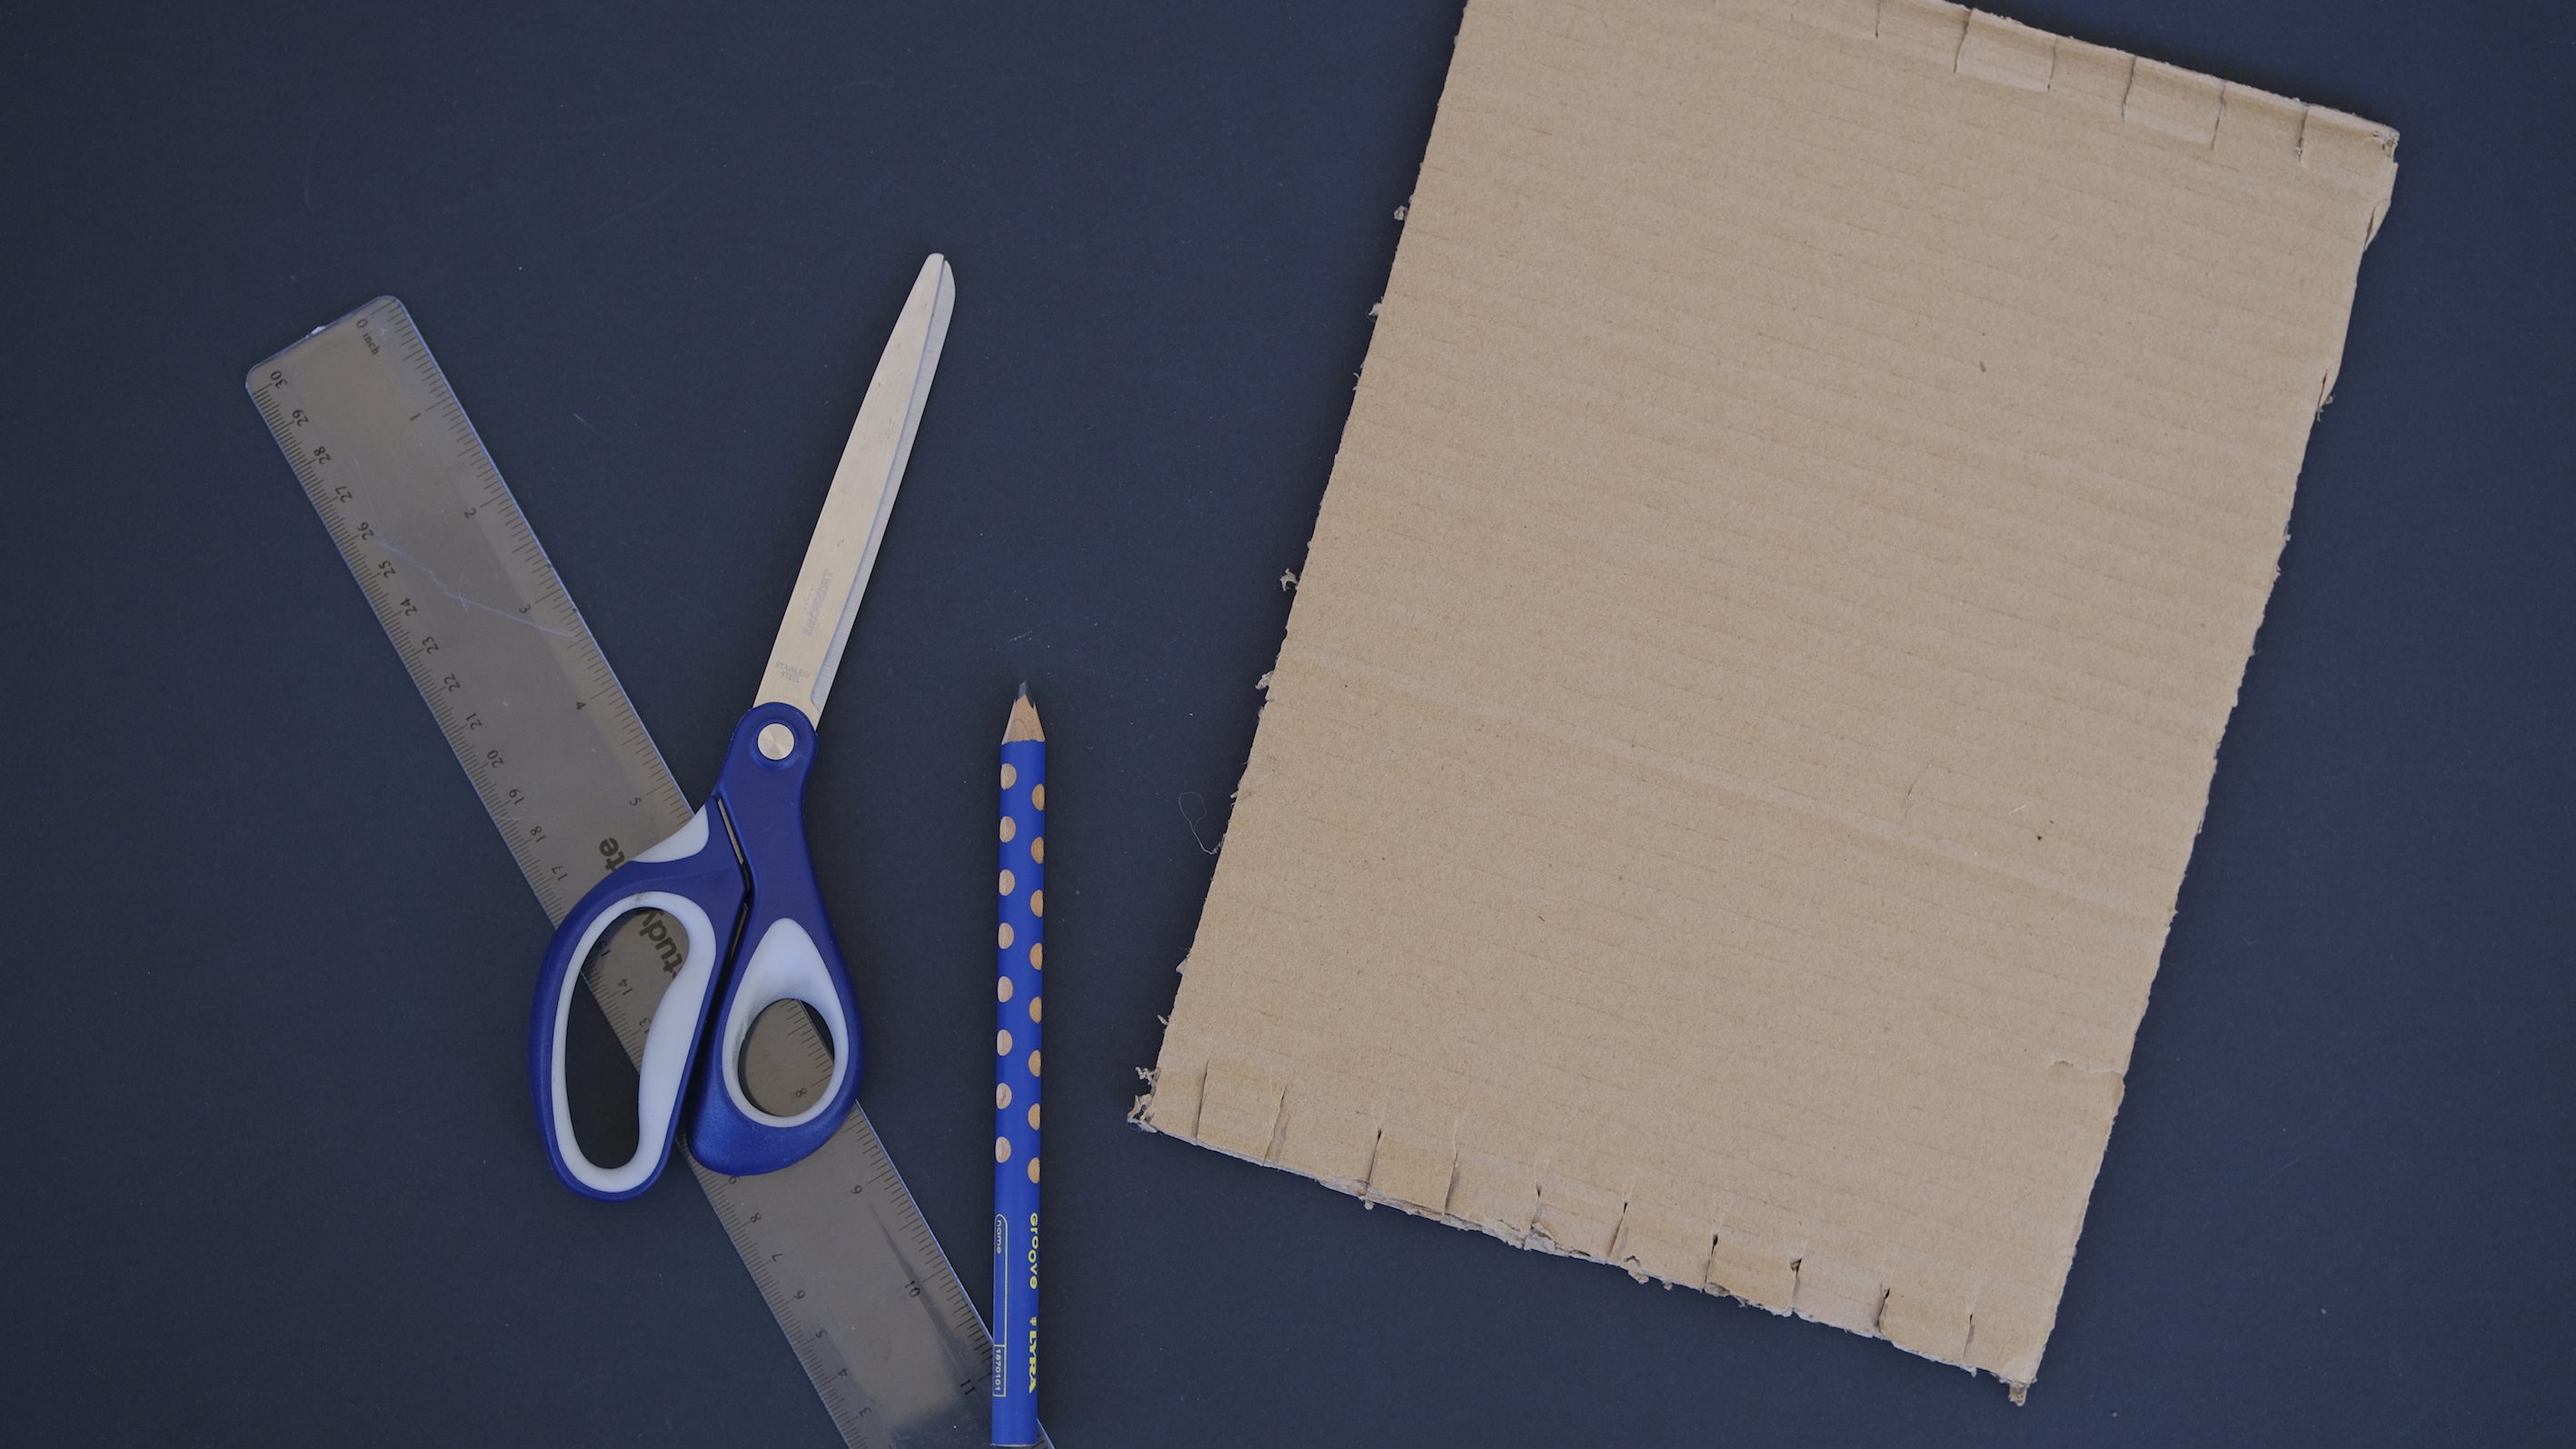
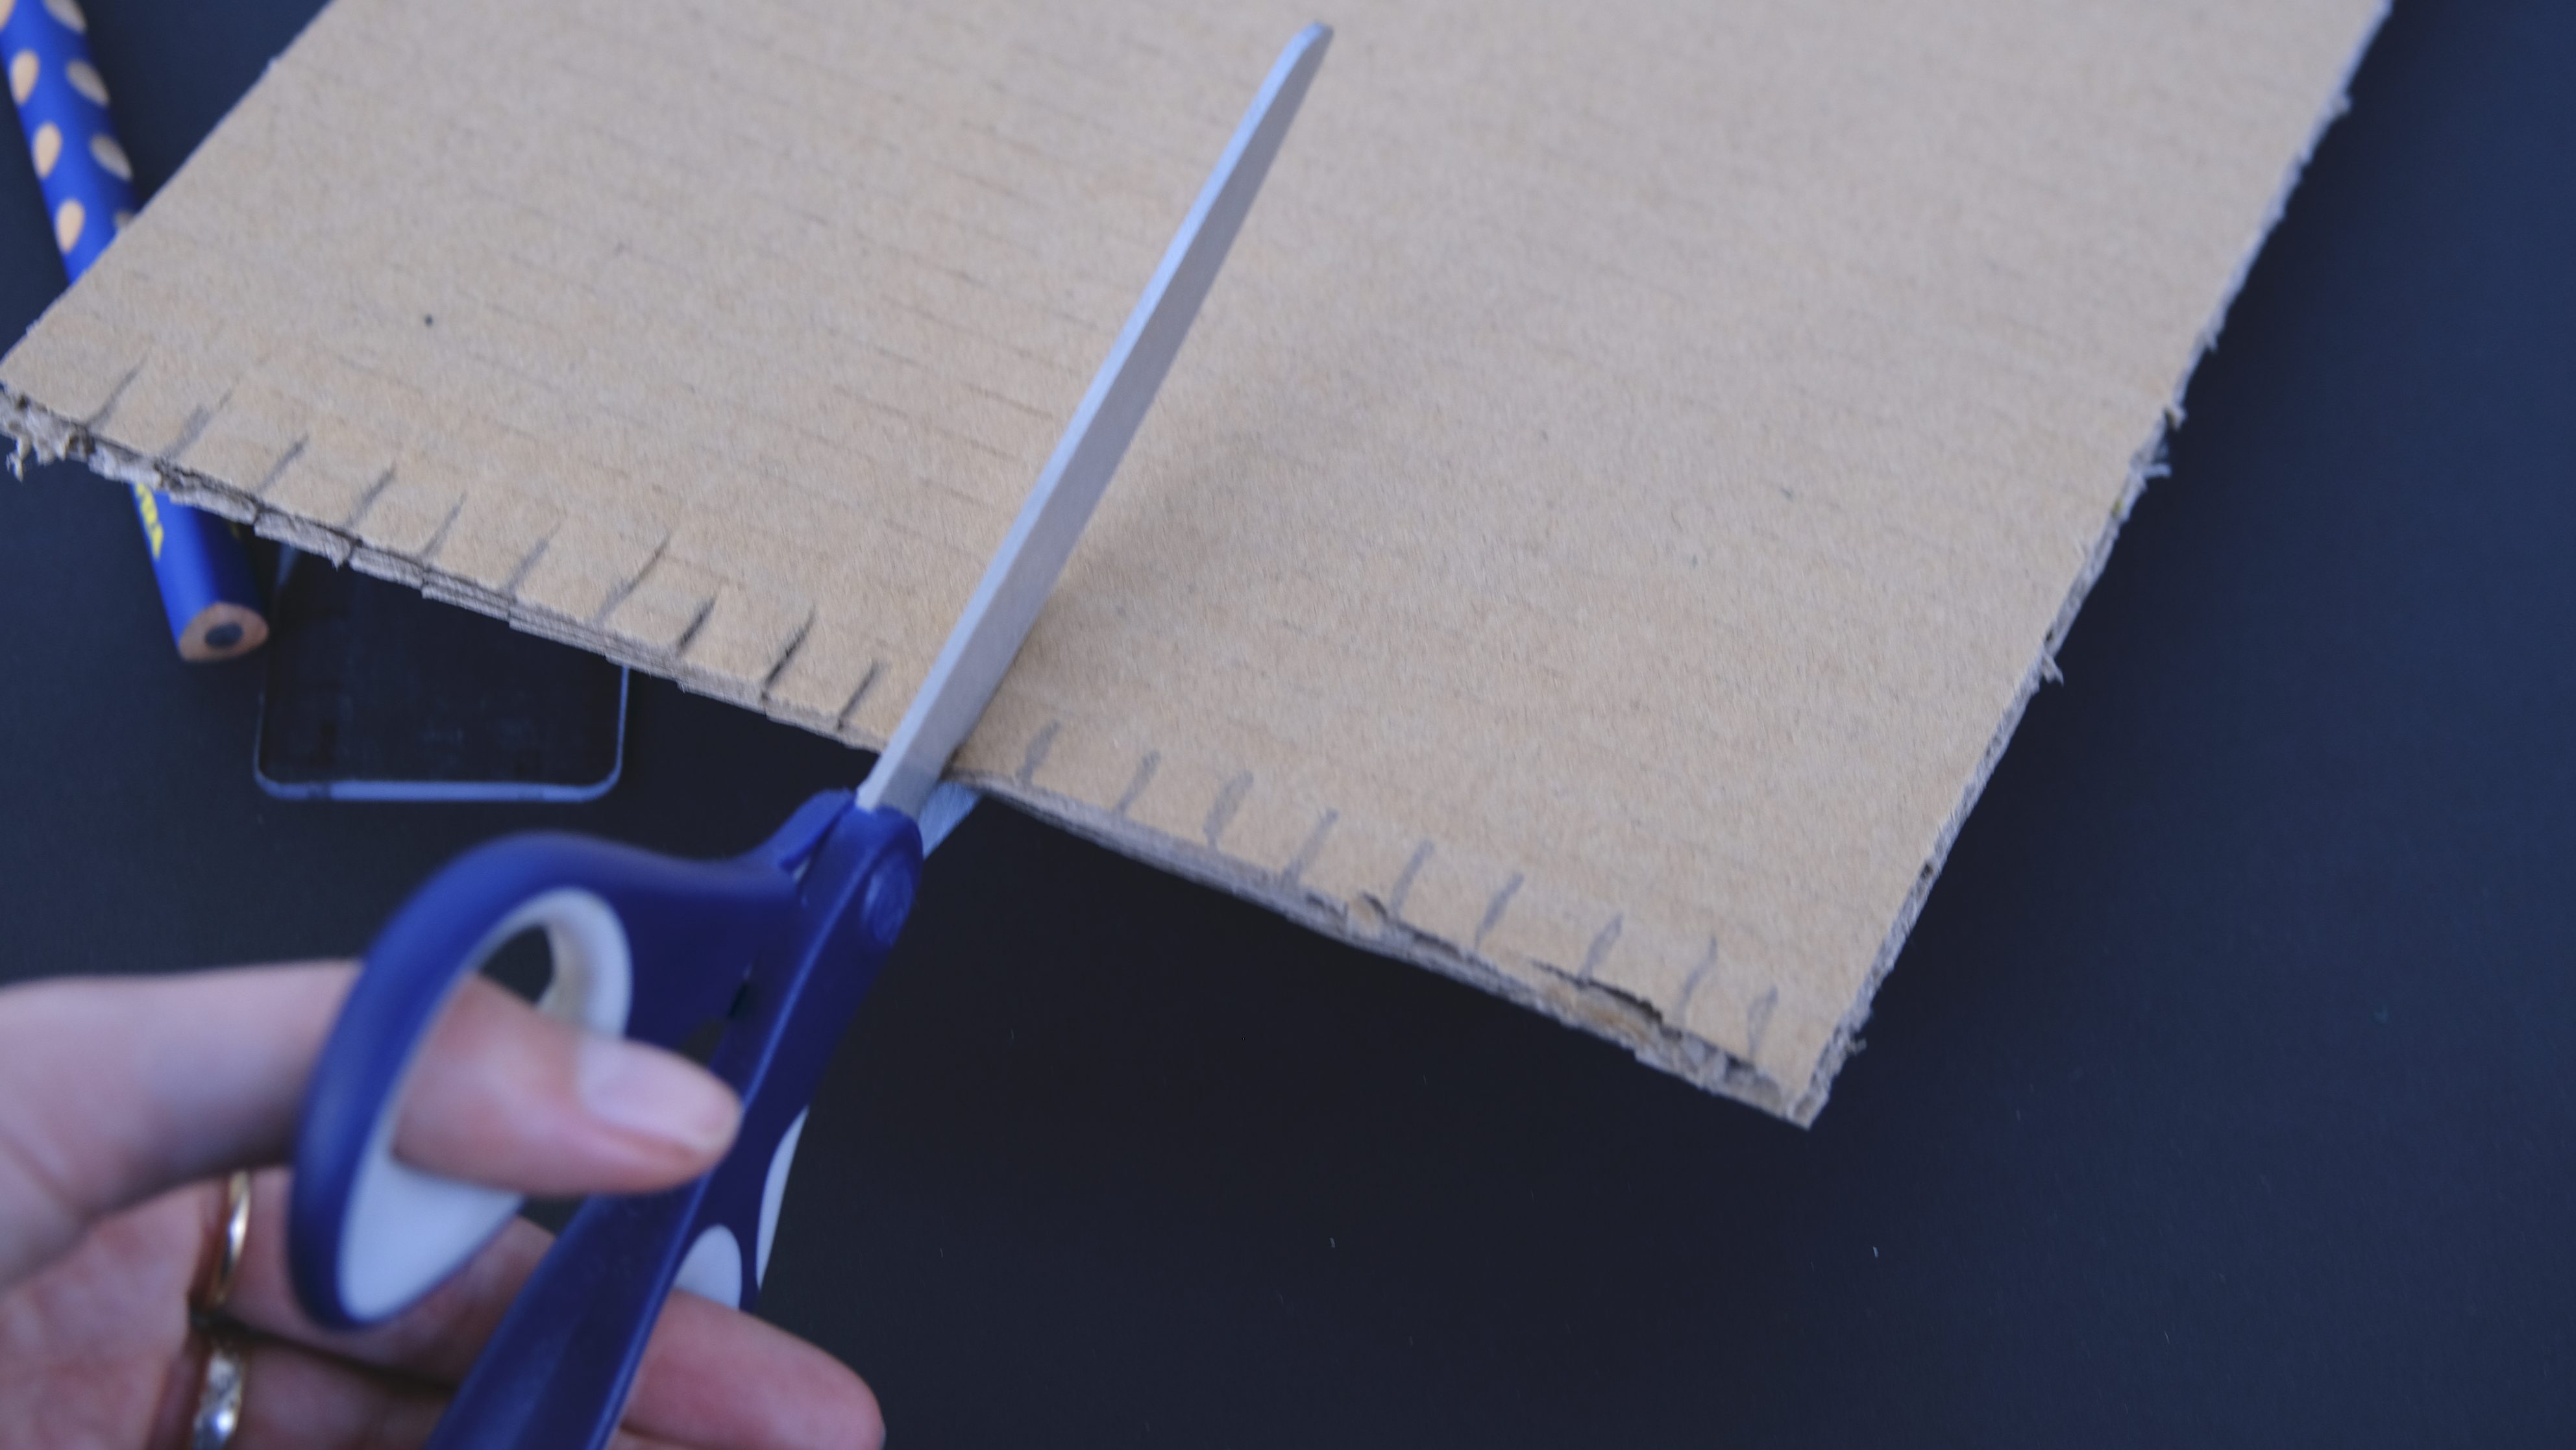
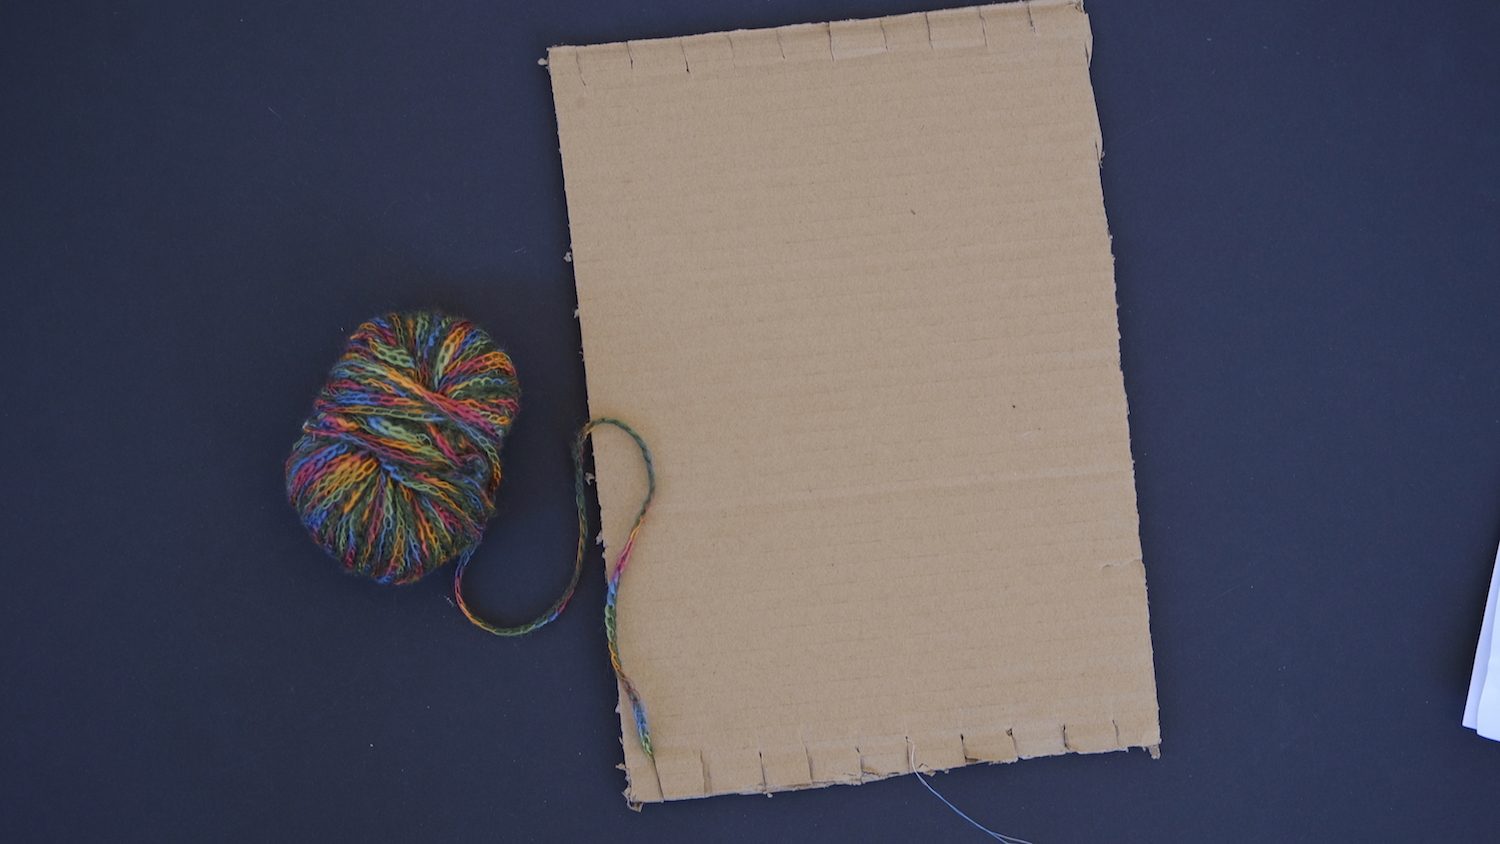
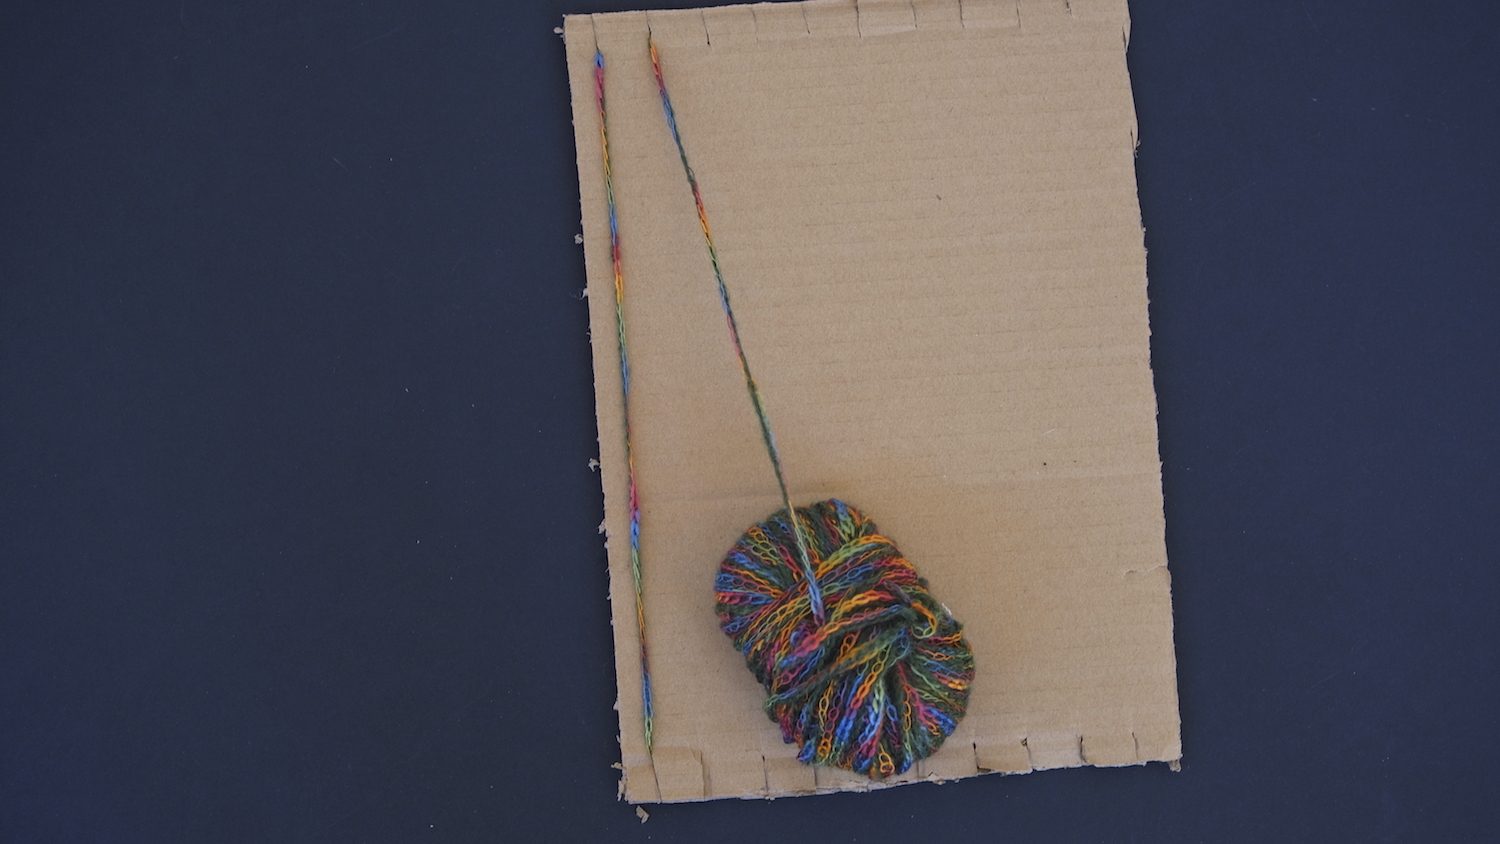
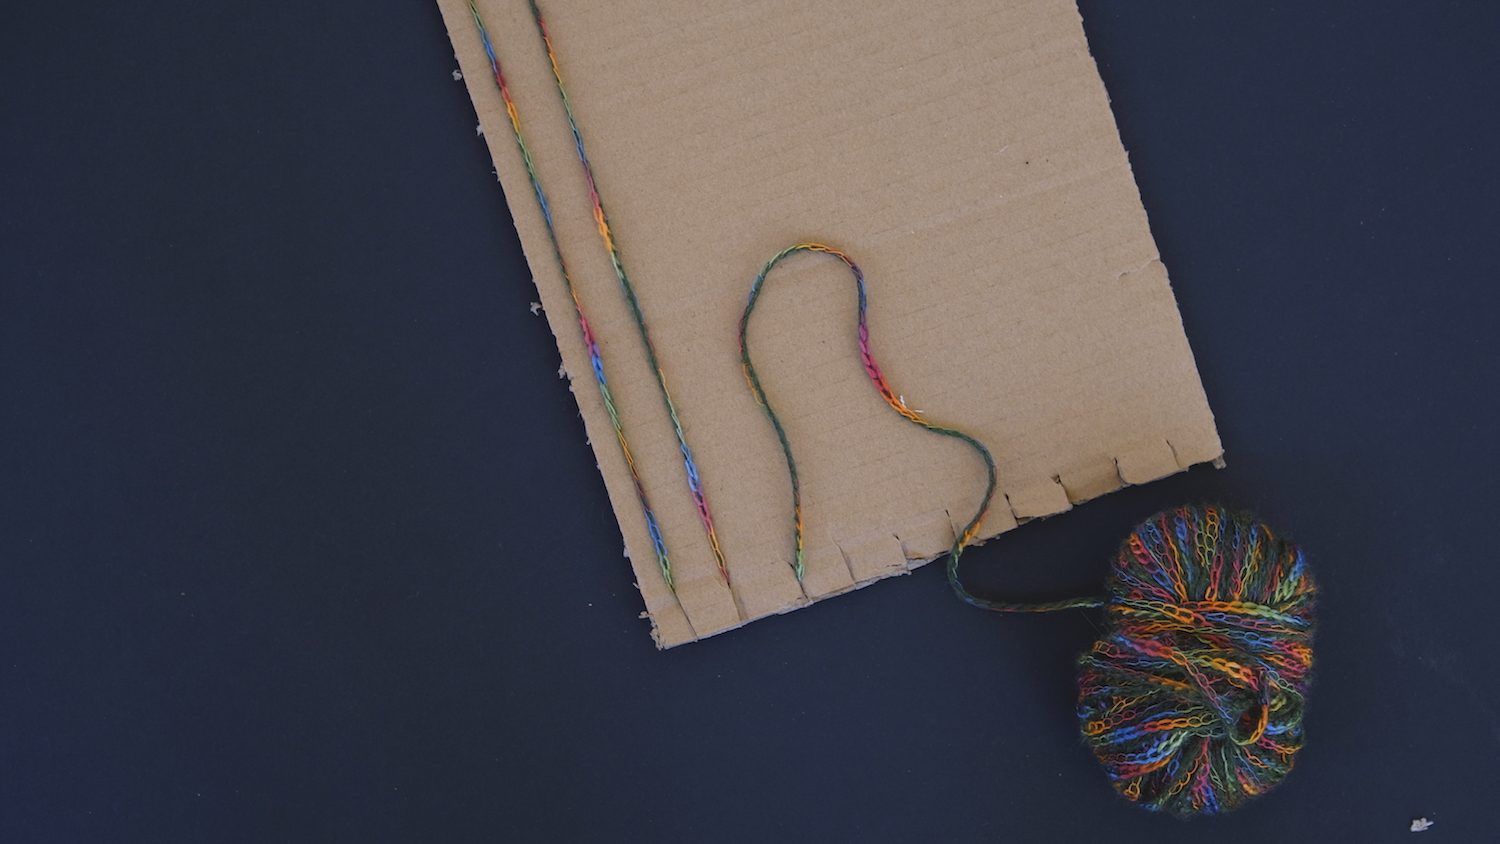
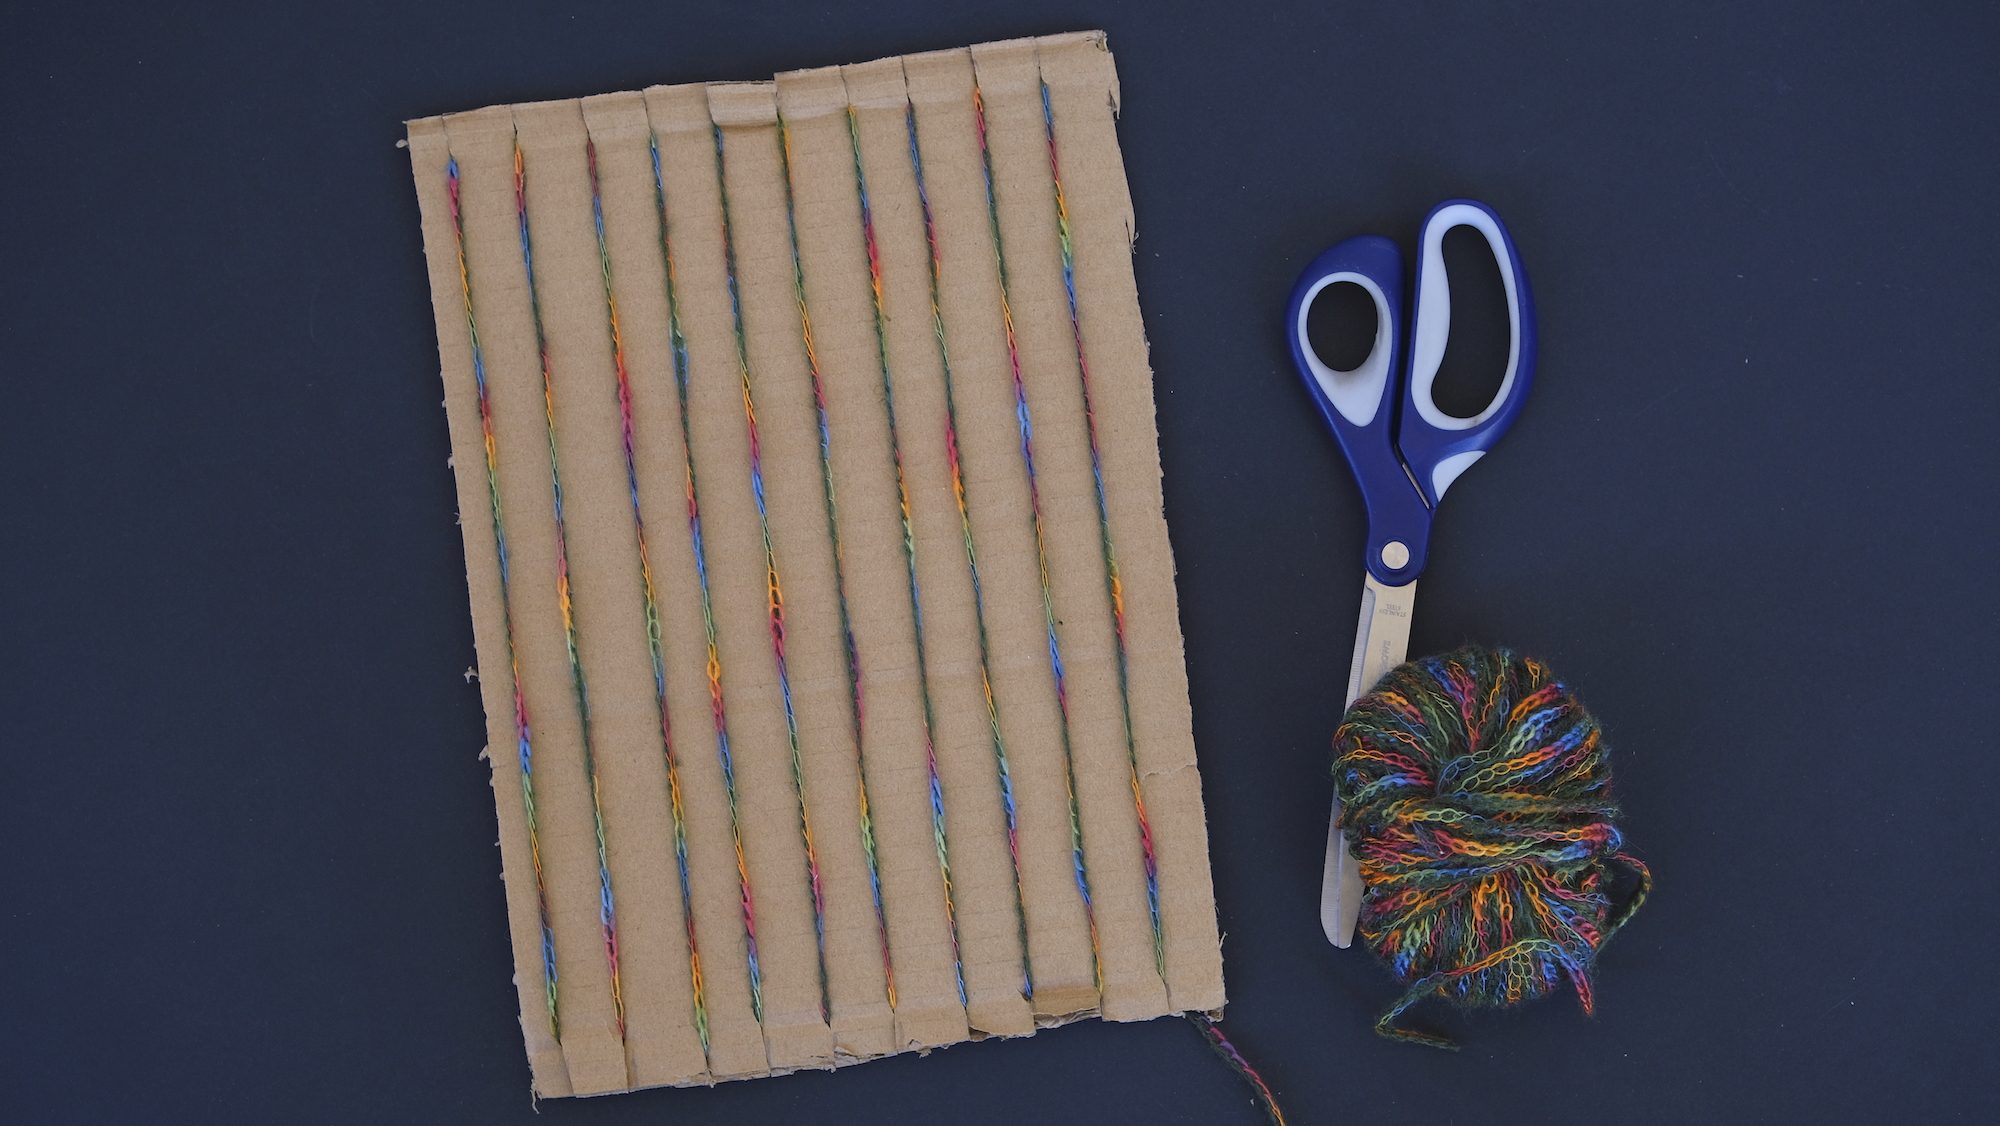
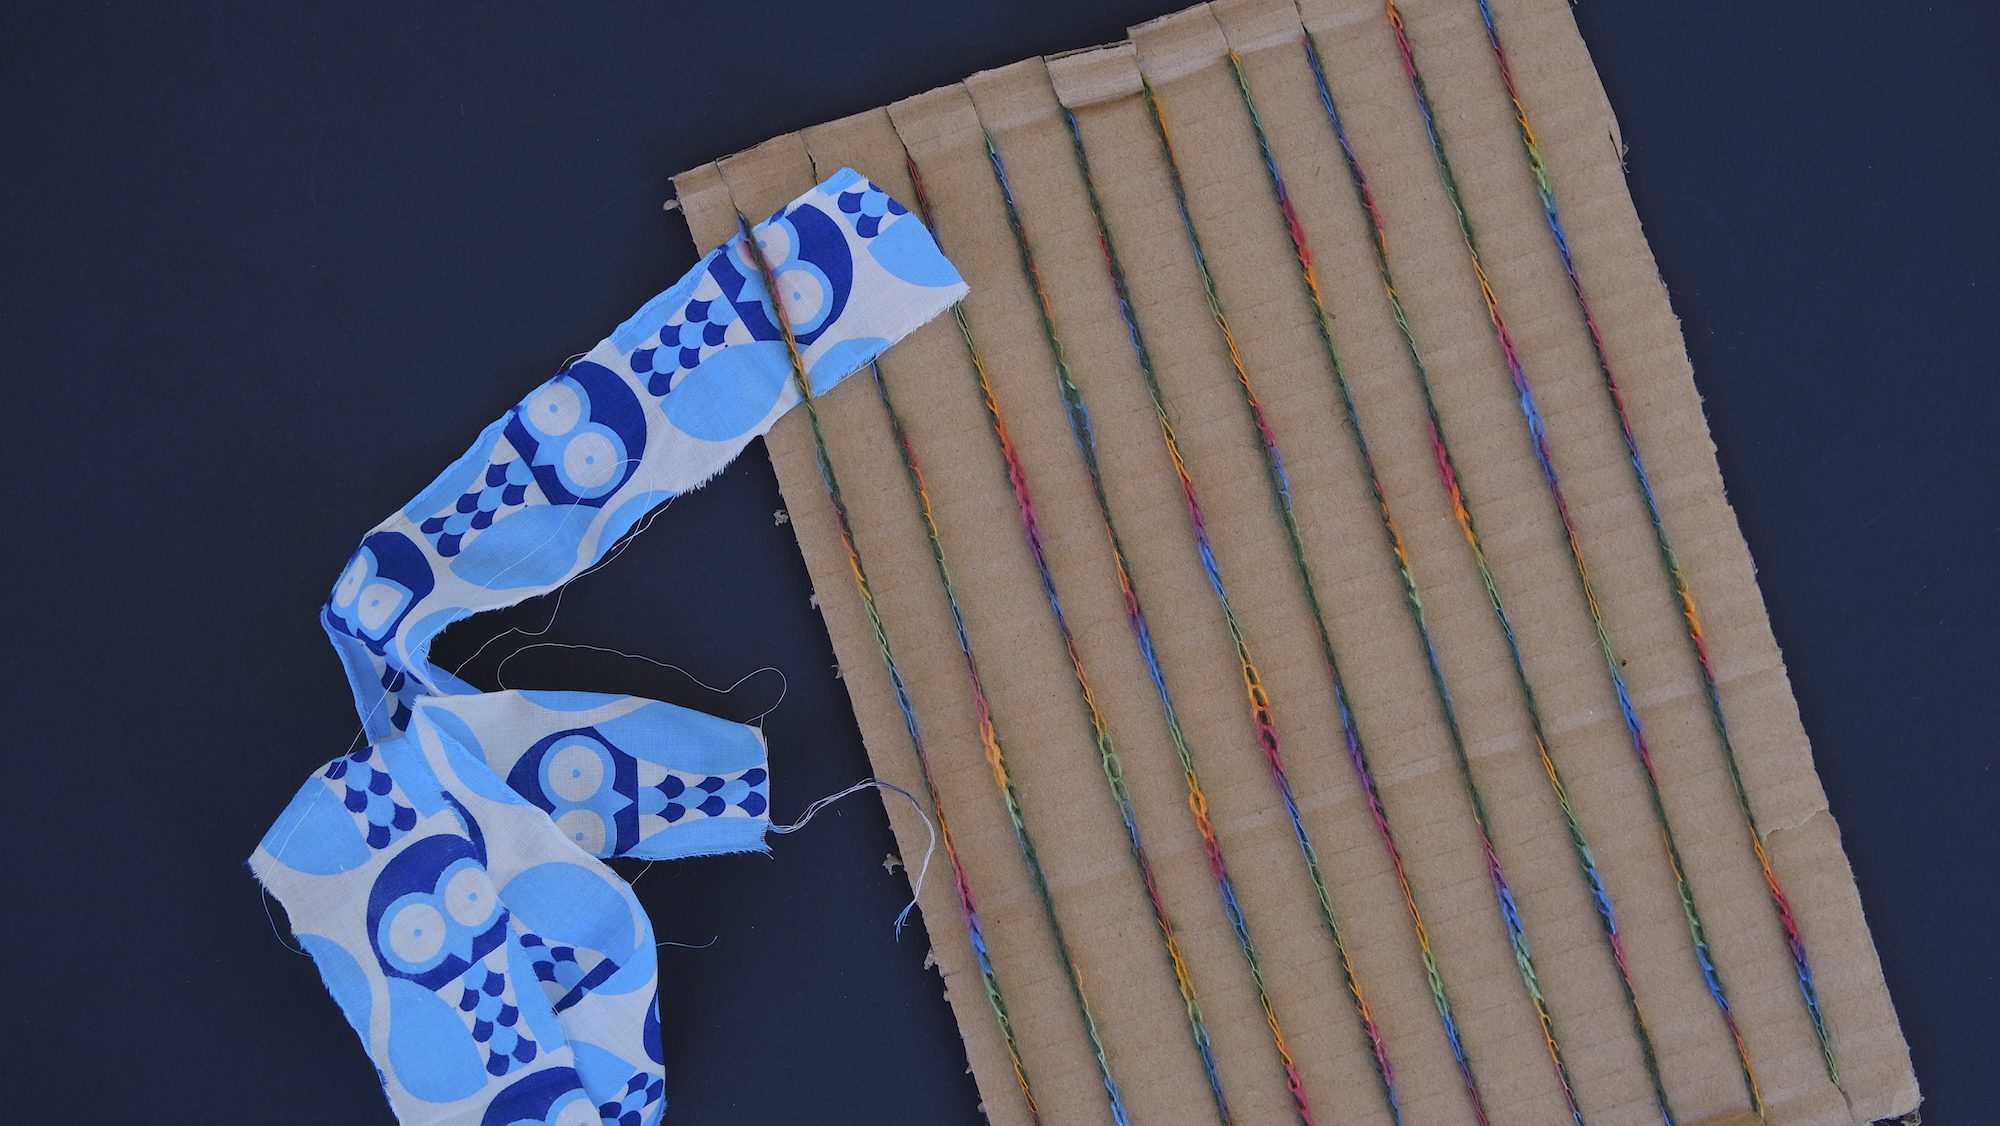
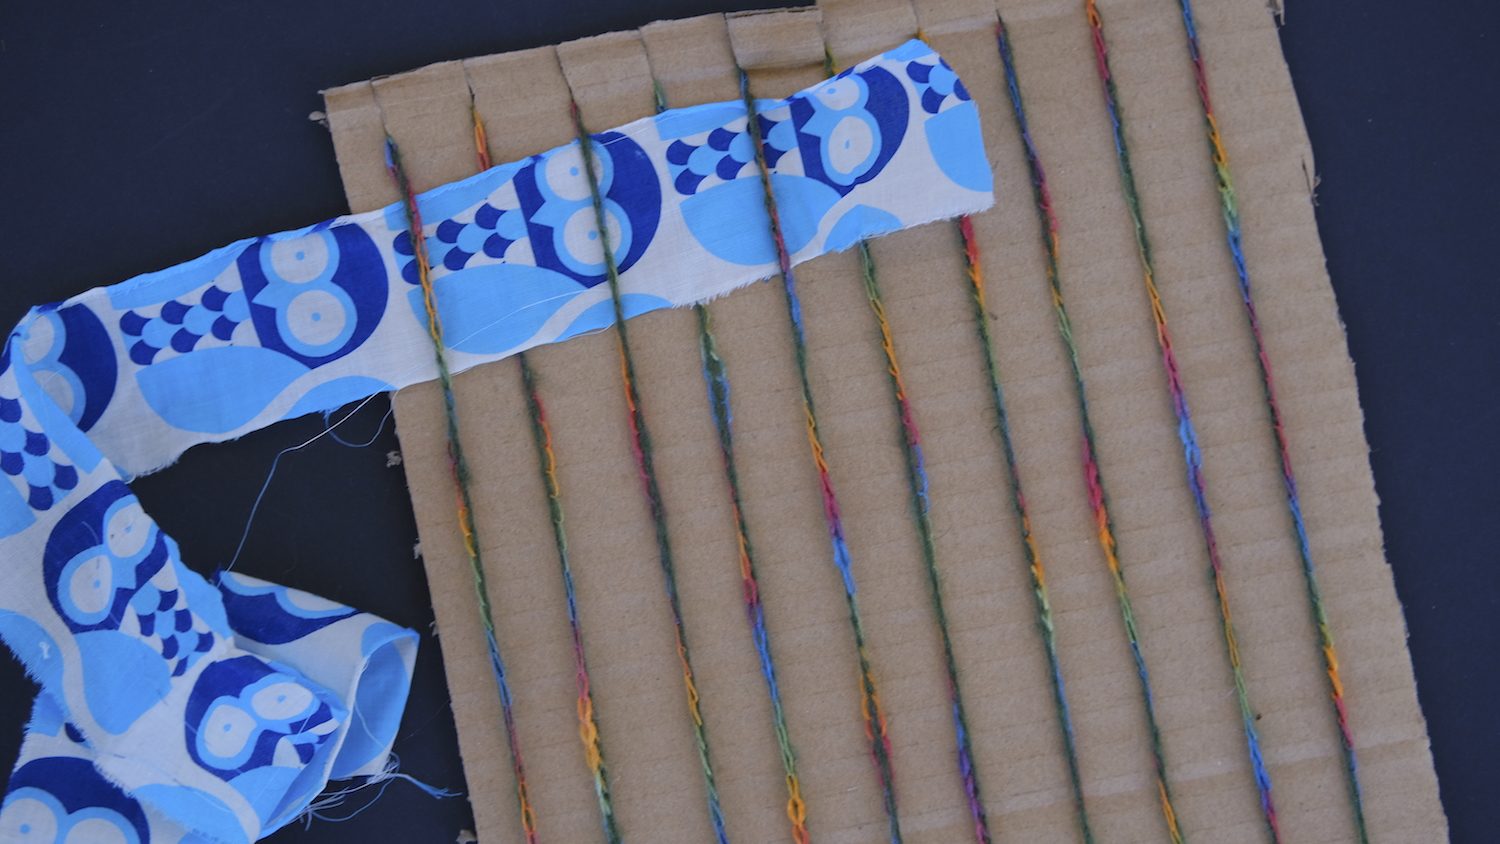
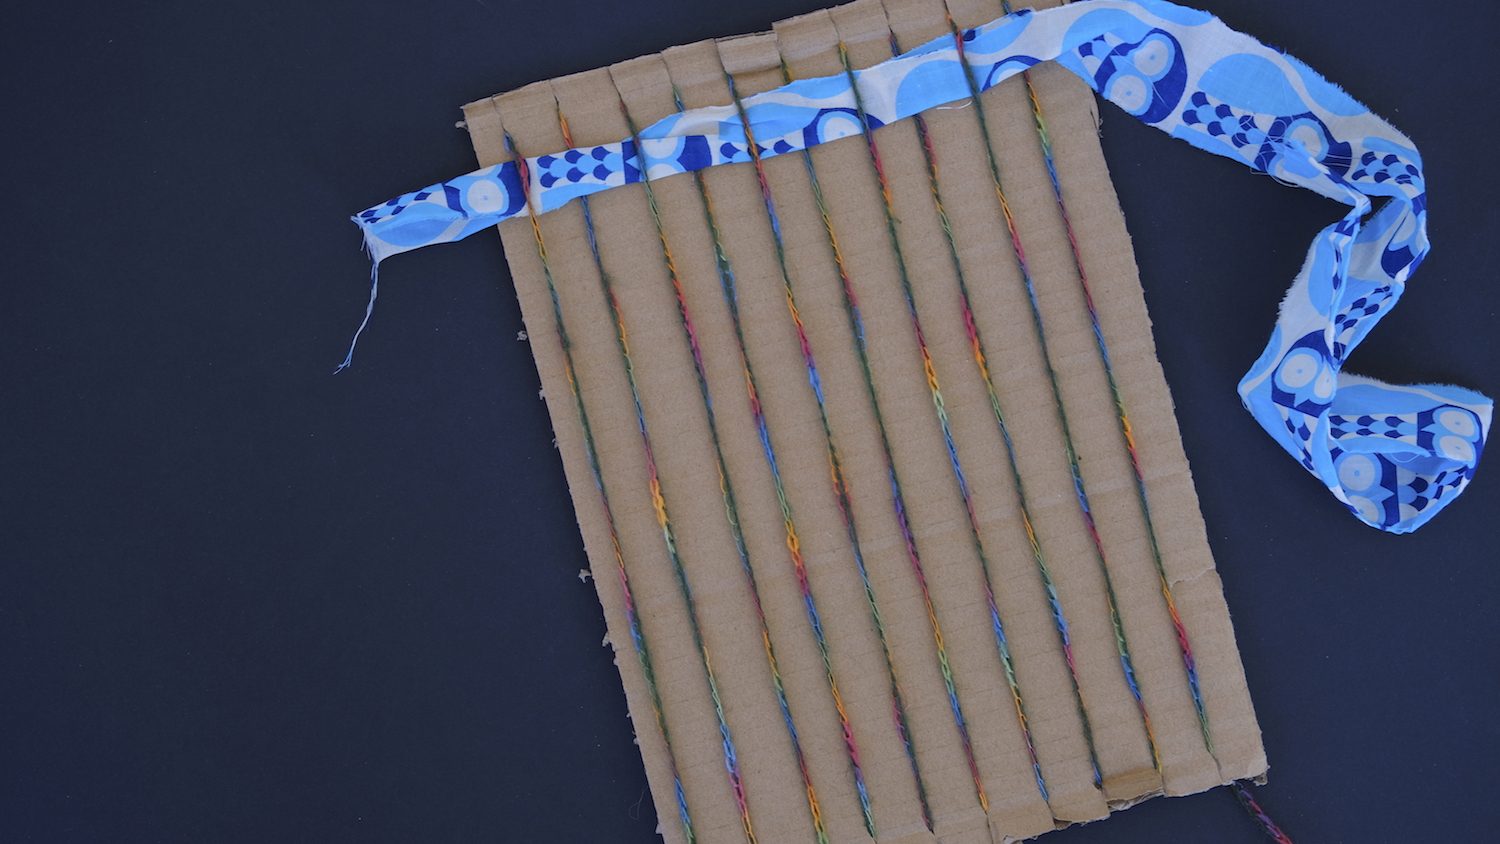
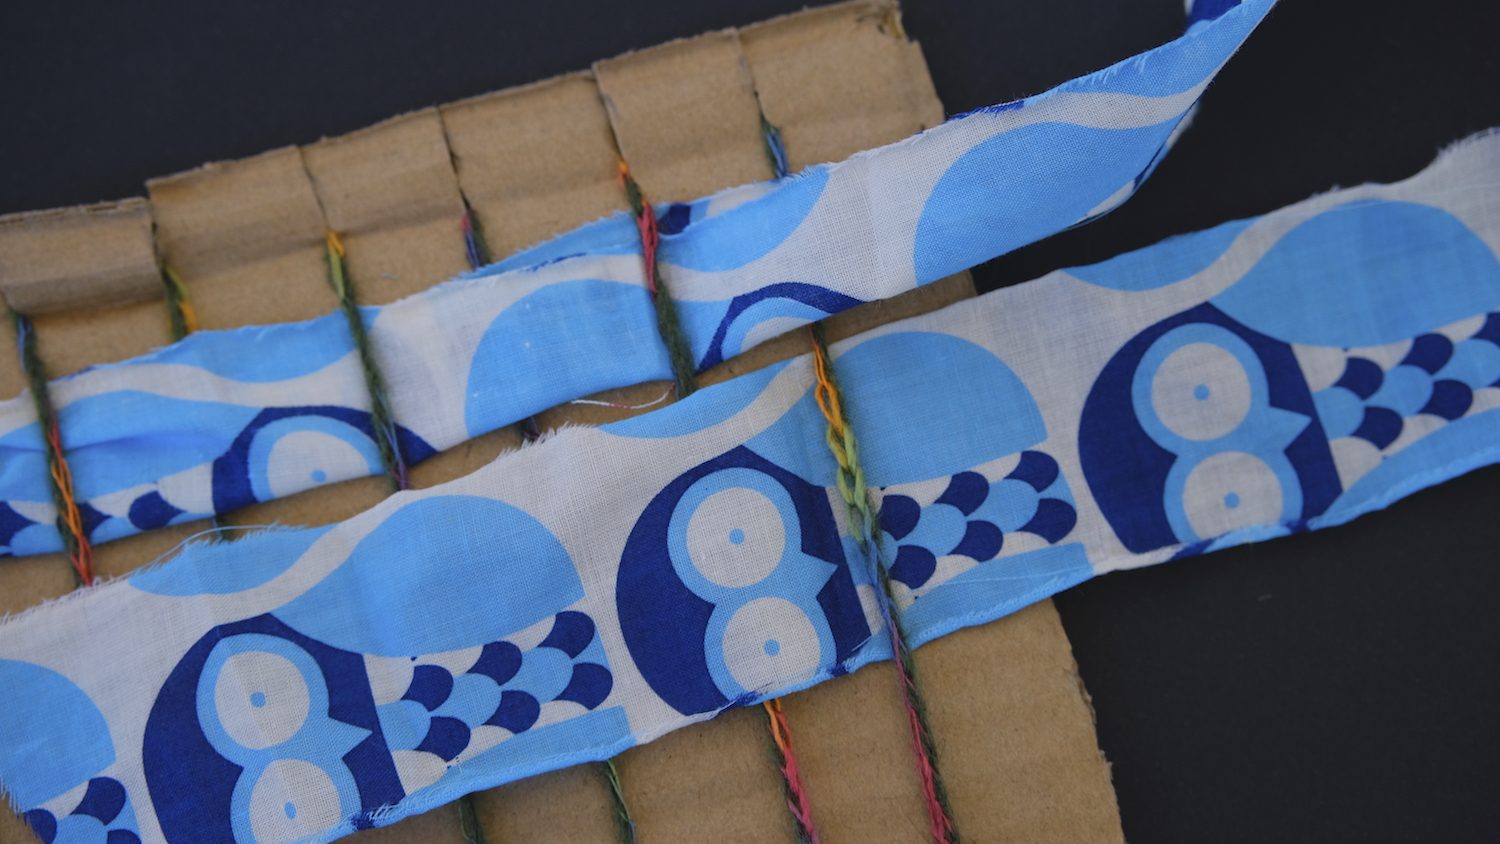
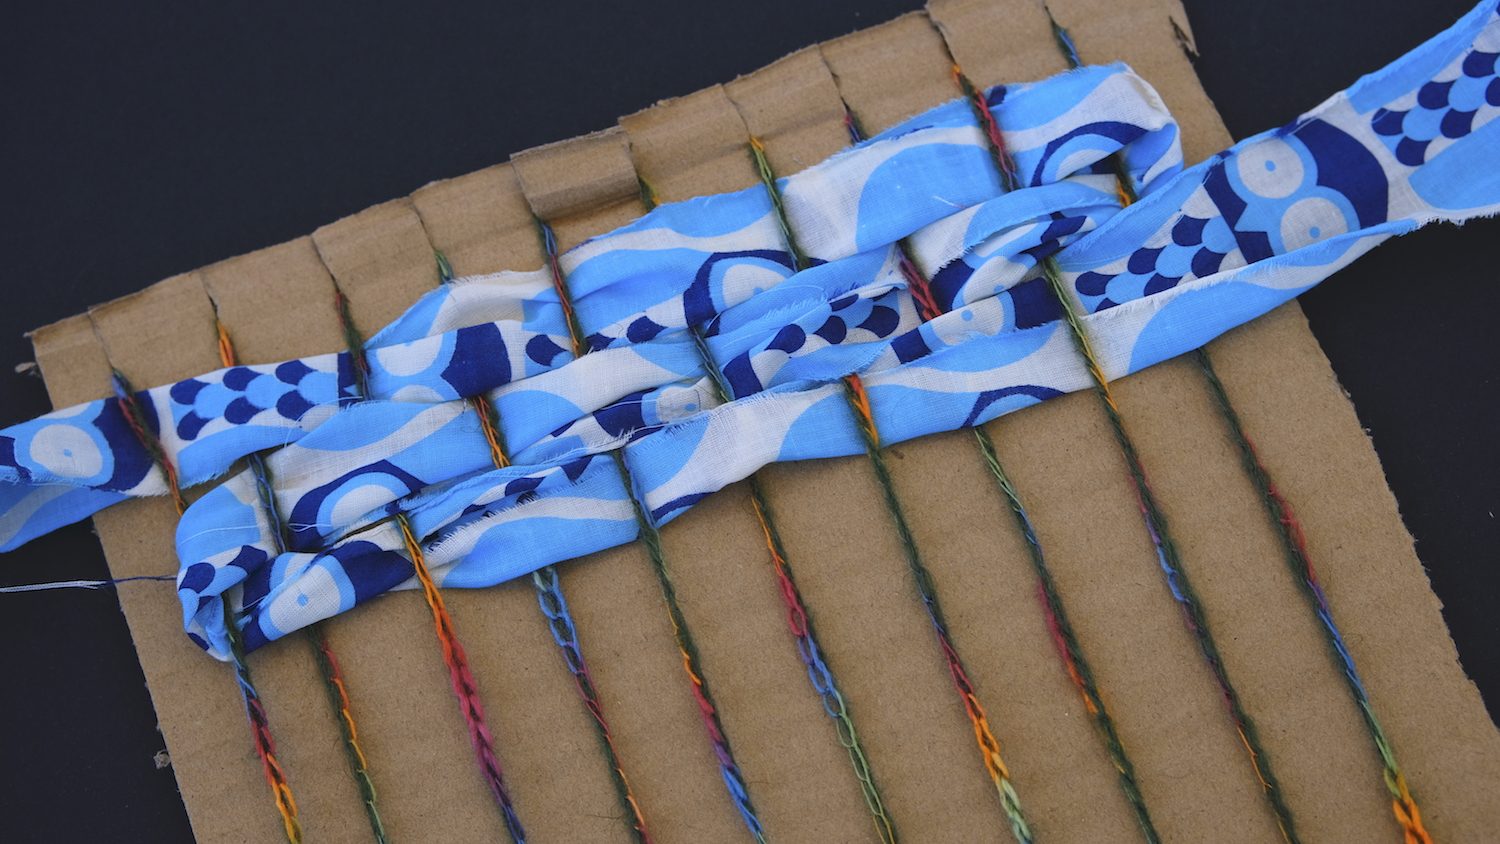
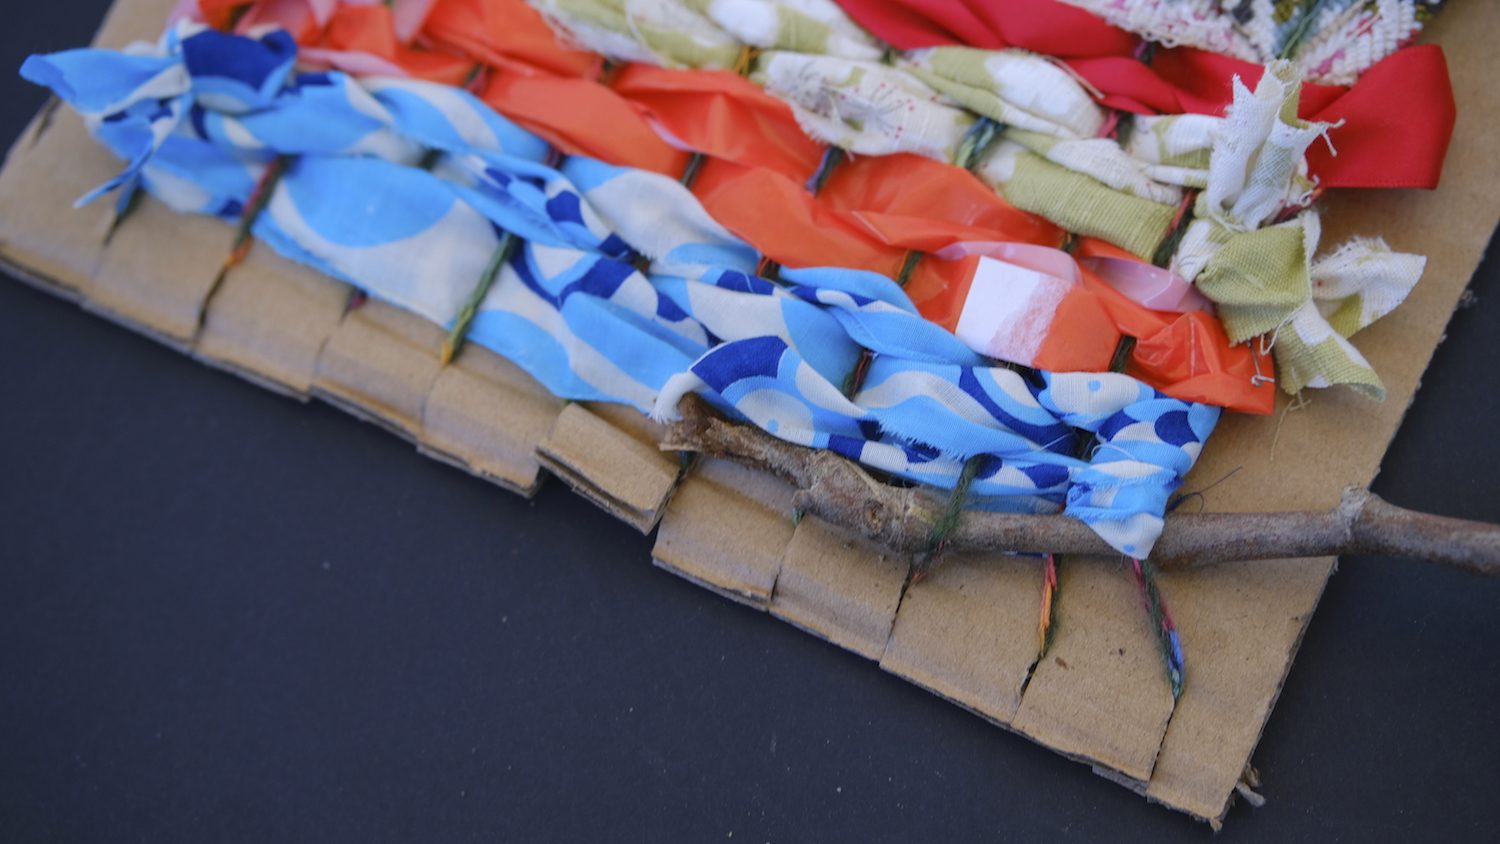
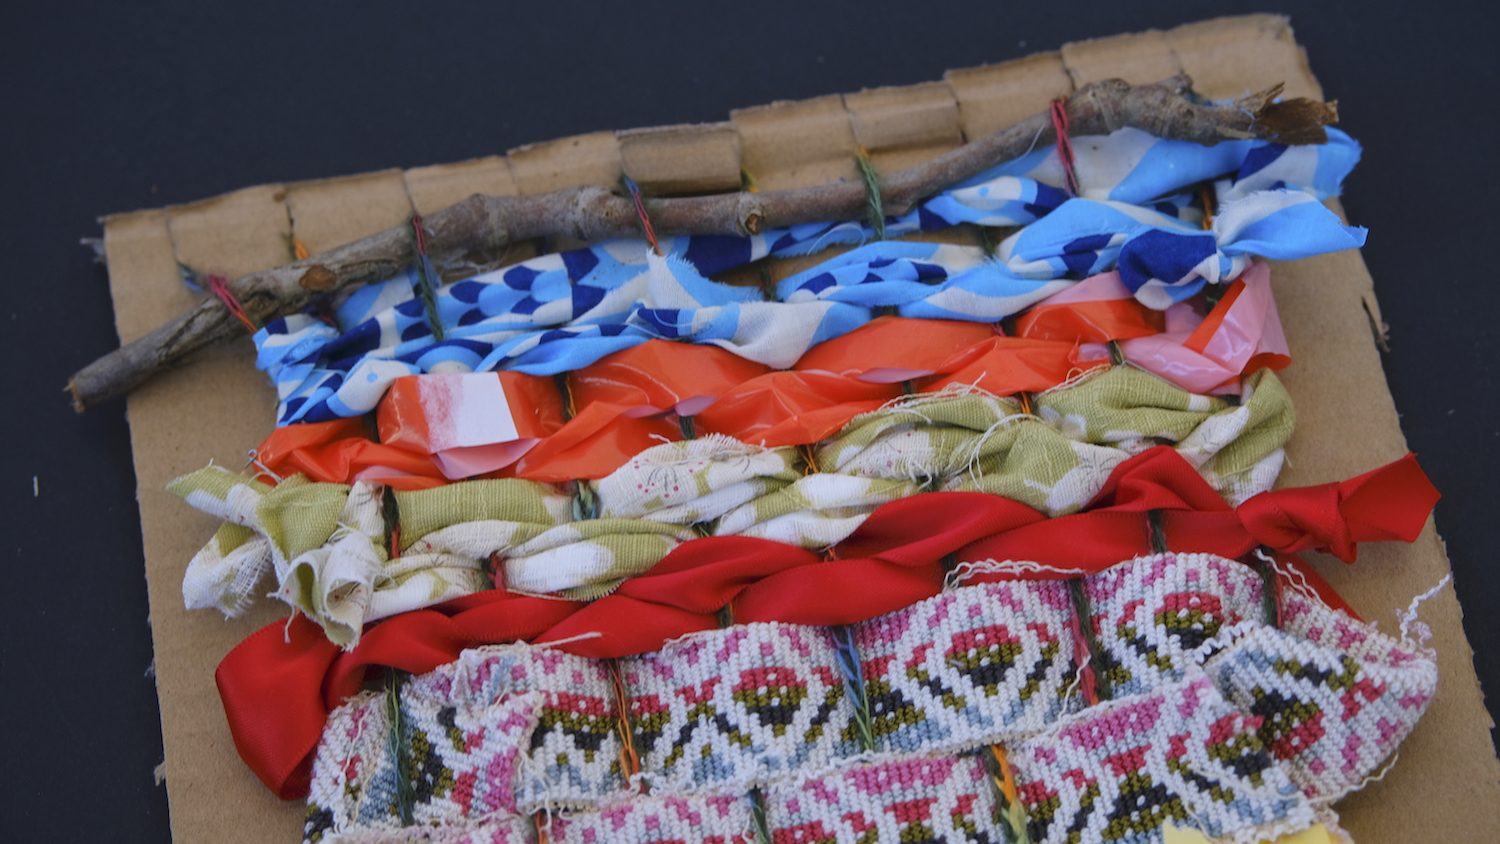
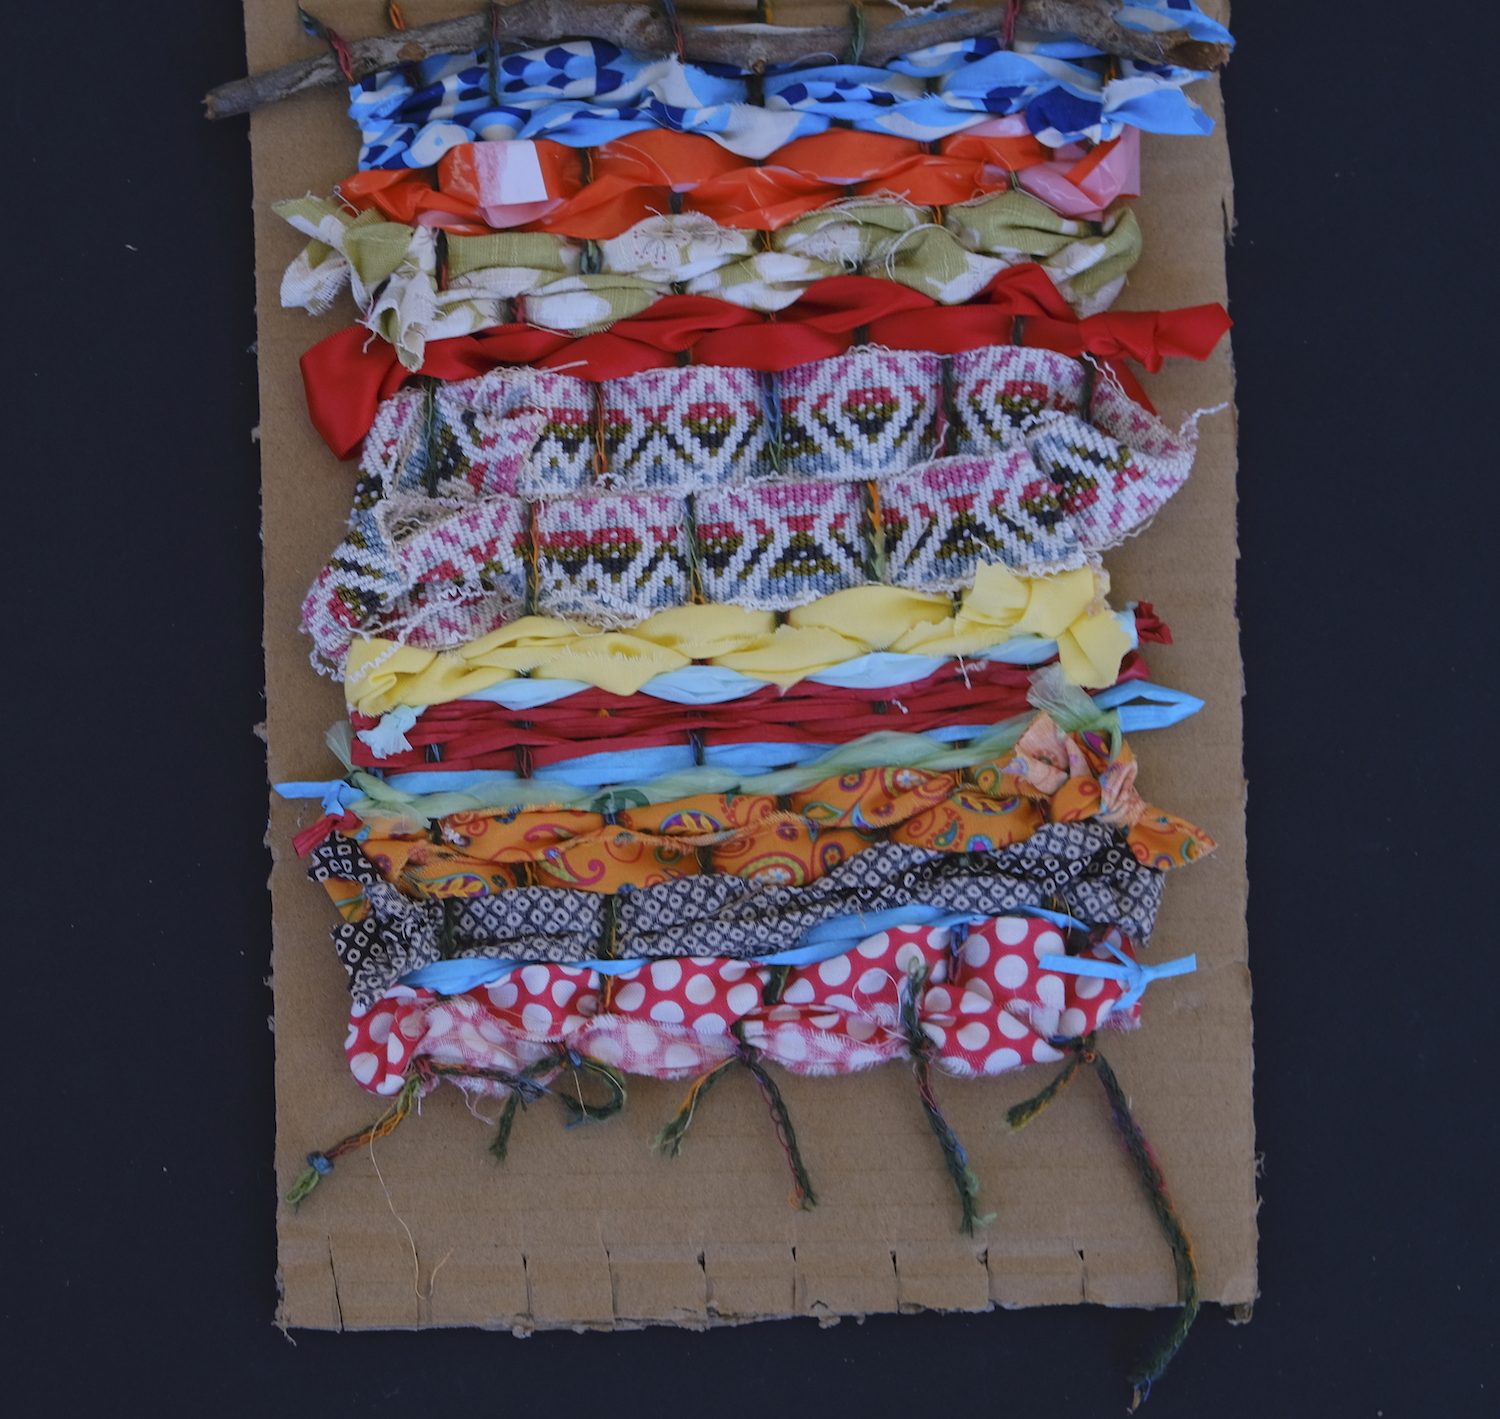
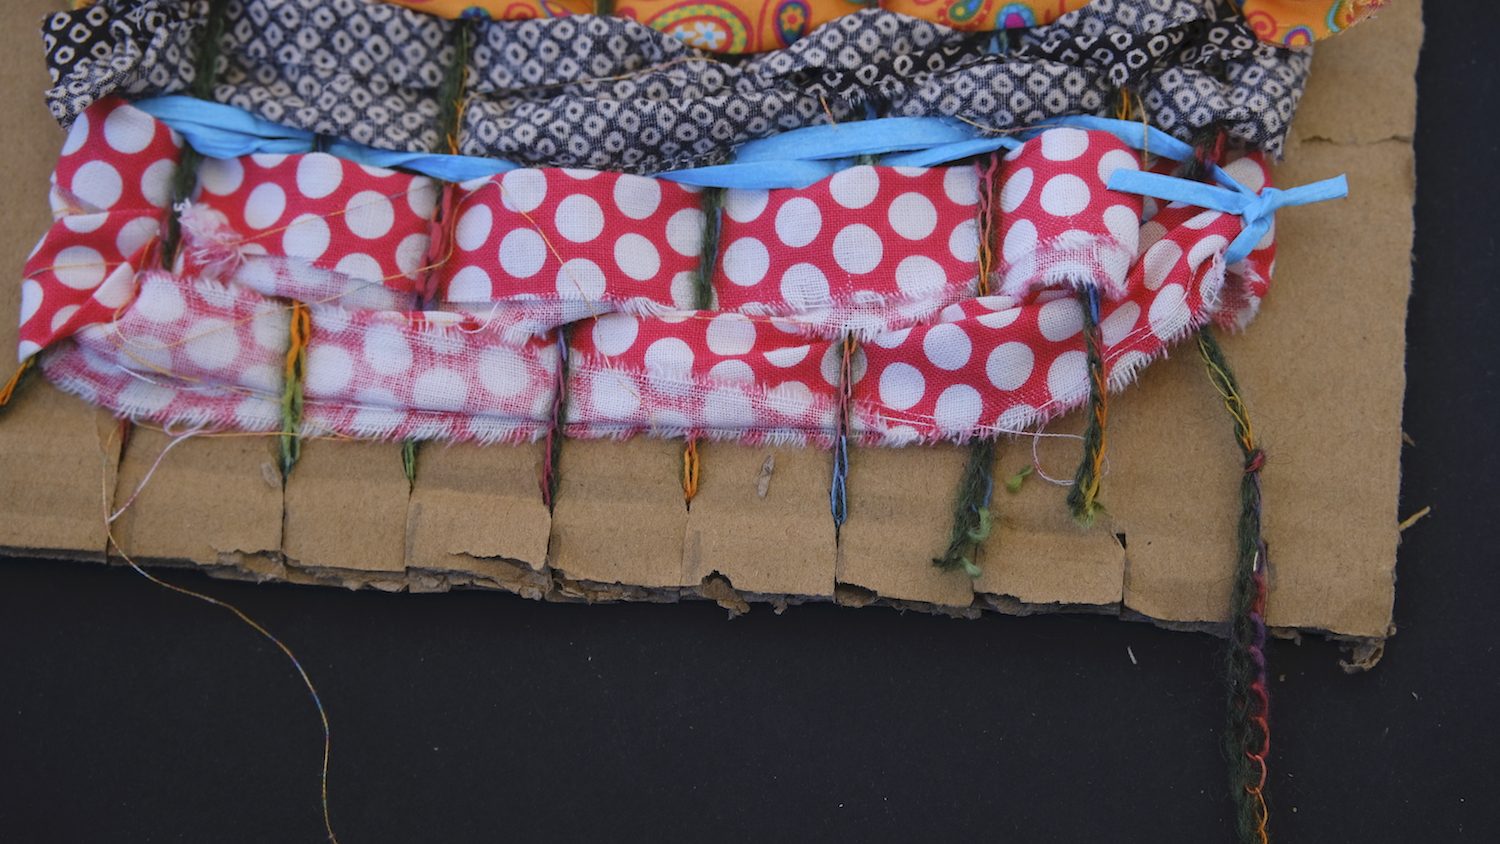
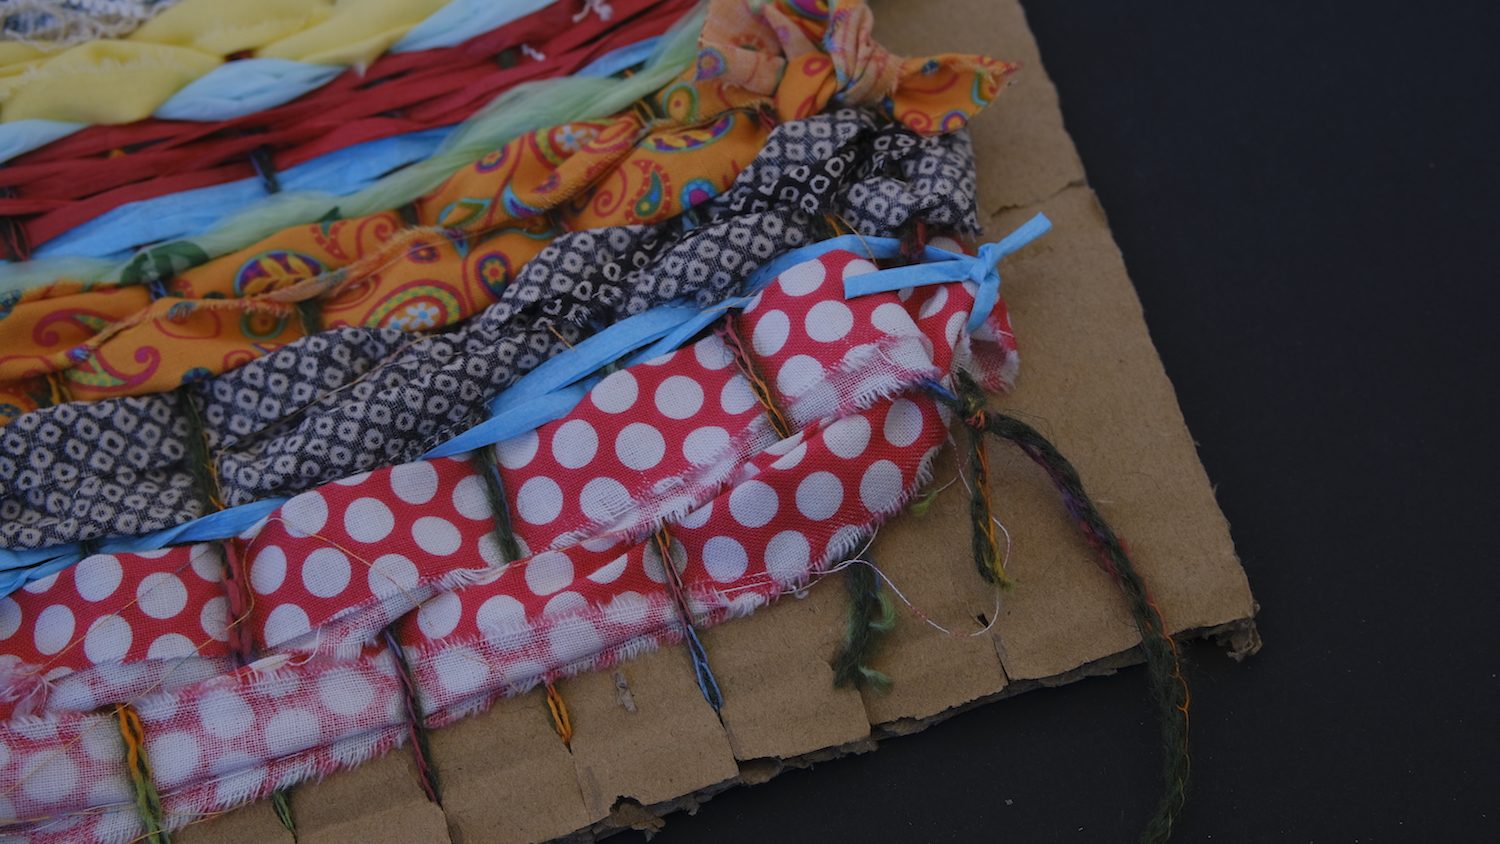
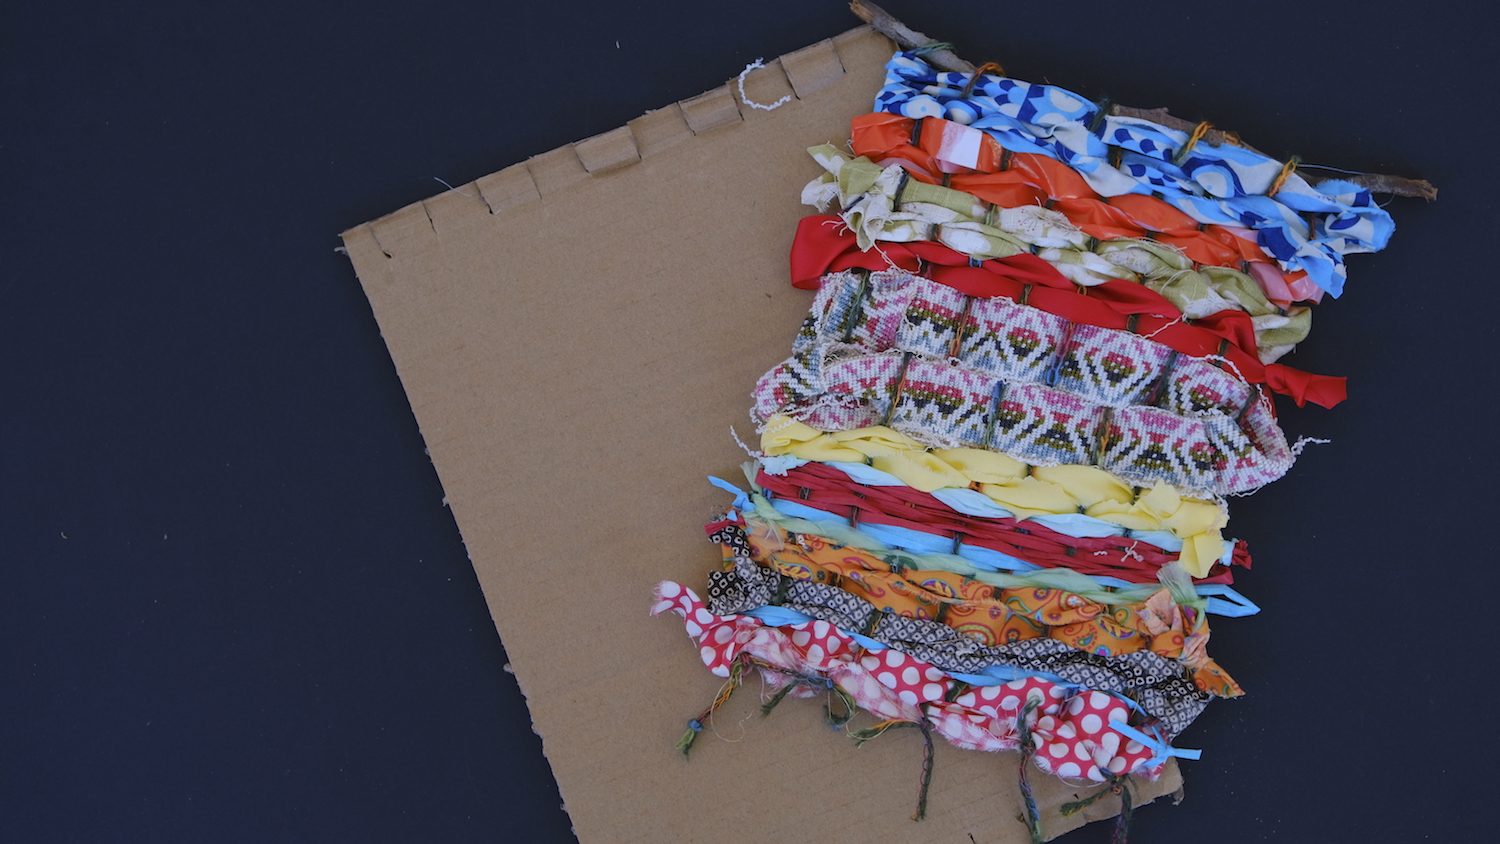
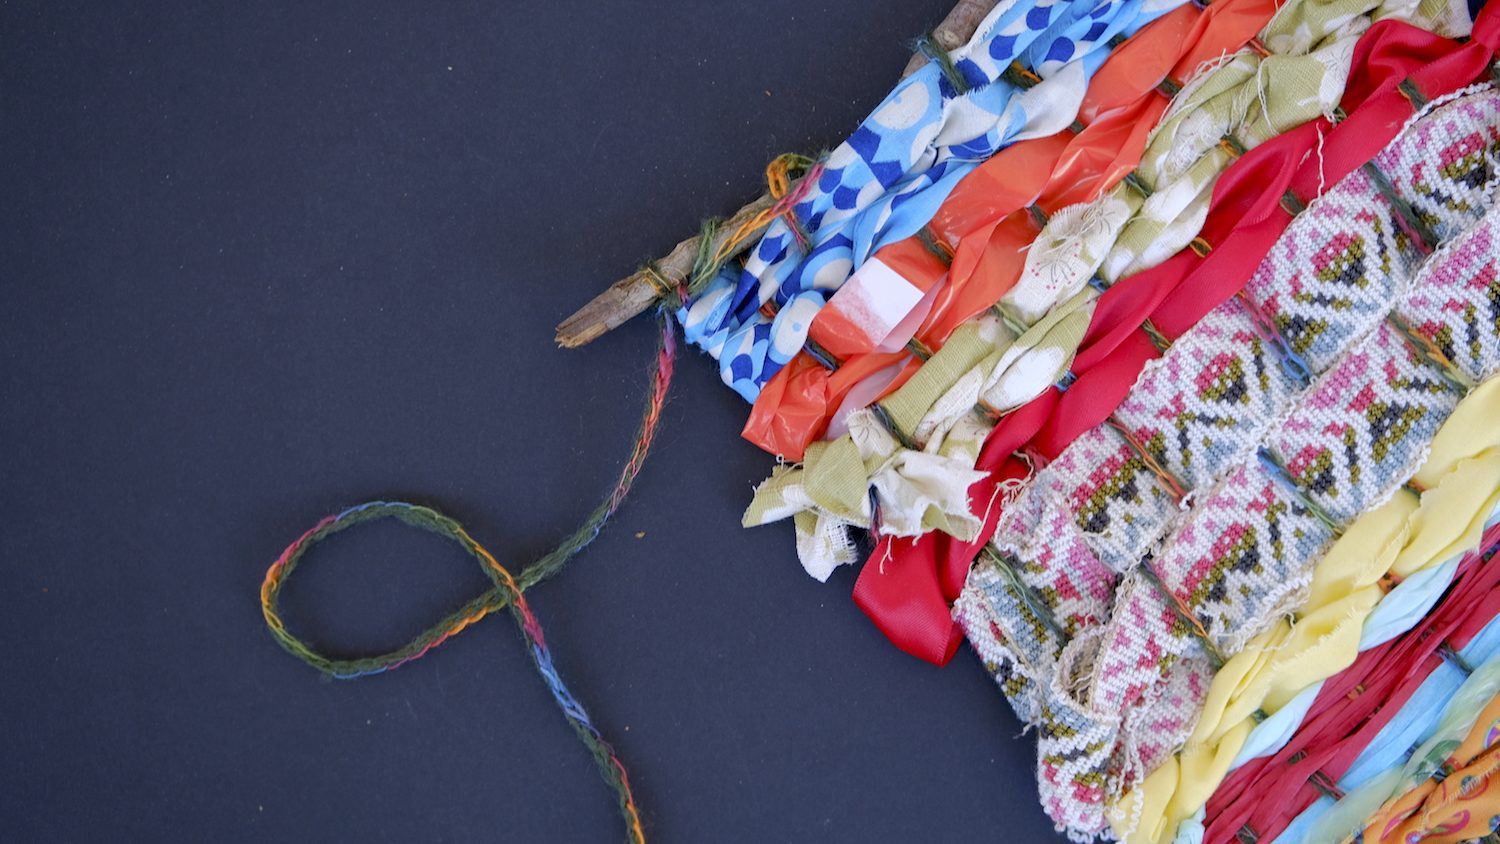
Inspired by this year’s Design Fringe theme of sustainability and waste, this activity will teach us how to weave using a cardboard loom. Gather your unwanted plastic, fabric scraps and ribbon and let’s create a beautiful piece of art that will add exciting new colour and texture to your room.

Download the activity in PDF


   MaterialS

  • A4 piece of sturdy cardboard
  • Fabric scraps (this could be anything from unwanted pieces of plastic to ribbons to fabric offcuts) Be creative and use any materials you can find!
  • Scissors
  • A stick for hanging (around 25cm in length)
  • Pencil
  • Ruler

autumn flora sculptures


Monet, The GaletteMonet, The Galette

Step 1 

First, we have to create our cardboard loom.

Do this by taking an A4 piece of cardboard and carefully cut evenly spaced slits along the top and bottom edges.

Use the pencil and ruler to mark out the cuts first.

I made my cuts about 2cm long and spaced 2cm apart.


Step 2

Next we have to add the warp thread to our loom. (vertical threads)

To do this, simply take the string and tie a knot at the end and place it in-between the first slit at the bottom.

autumn flora sculptures


Monet, The Galette Monet, The Galette

Step 3 

Thread the string up and around the first slit at the top of the cardboard.

Then take the string back down and around the second slit at the bottom, making sure the thread remains on the front of the loom.


Step 4

Repeat this process until the entire loom is covered in vertical strings.  

Once the last slit at the bottom has been reached, cut the string and tie a knot at the end.

autumn flora sculptures


autumn flora sculptures

Step 5 

Next we have to add the weft thread to our loom. (horizontal threads)

If your fabric is not already in strips, cut your materials into strips making them around 3cm wide.

You can make the length as long as you like.  


Step 6

It’s now time to start weaving.

Take a strip of fabric and thread the material under the warp thread and then over the next warp thread. Repeat this over and under motion until you reach the end of the row.

I found it easiest to lift the warp thread up while I was pulling the fabric through.


autumn flora sculptures


autumn flora sculptures

step 7  

Now gently pull the rest of the strip through, making sure around 5cm of fabric is left hanging on the left-hand side.


step 8 

Next, weave the fabric back in the opposite direction to create the next row.

If your last weave was under, make sure you start by going over the warp thread and vice versa.

Continue weaving until the entire strip has been added. Once completed, you can leave the fabric hanging off the end, we will finish this off later.

Make sure to squash/push the material you have just woven up to the top of your loom before adding your next piece of material.

Don’t pull the fabric too tight as this can cause the weaving to go wonky!


autumn flora sculpturesautumn flora sculptures


autumn flora sculpturesautumn flora sculpturesautumn flora sculptures

step 9  

Continue weaving new strips of fabric in, following this over and under motion until the wall hanging is completed.

Remember to push the fabric towards the top of the loom after each row. 


step 10 

Now we can finish off the material hanging over the edges. You can either tie a knot at the end of the row or thread the additional length back in.

Do this by taking the fabric and weaving the material back into the wall hanging following the over and under motion.

I found it easiest to just tie knots at the end of the overhanging fabric and cut off the excess.


autumn flora sculptures


autumn flora sculpturesautumn flora sculptures

step 11 

To finish off the wall hanging, carefully thread the stick through the top loop. Weave the stick in above the first strip of fabric, until the stick reaches the other side.

Slide the loops off the top of the loom and onto the stick.


Step 12

To finish off the bottom, cut each bottom loop one at a time and tie a knot between two pieces of string to secure the wall hanging.

When tying the knot, pull the thread up to the last row of material to make the wall hanging tighter.

I tied a double knot at each end to secure everything in place.


autumn flora sculptures

autumn flora sculpturesautumn flora sculptures


autumn flora sculpturesautumn flora sculptures

step 13

It’s now time to hang the wall hanging.

Cut a small length of string and tie one end to the left side of the stick and the other to the right end of the stick.


Step 14

This is the final wall hanging!

We hope our example inspires you to create your own upcycled wall hanging.


autumn flora sculptures


autumn flora sculpturesautumn flora sculptures


STEP 15 > SHARE IT WITH US!

We would love to see your creations!

Upload a photo of your artwork below and we will share your creations on this page.
Happy making!


IMAGES > Clare Niere and Shelley Xue 
Activity > Clare Niere